Showing posts with label Haul-Out. Show all posts

Wednesday, August 20, 2014

To Keep You Busy ...

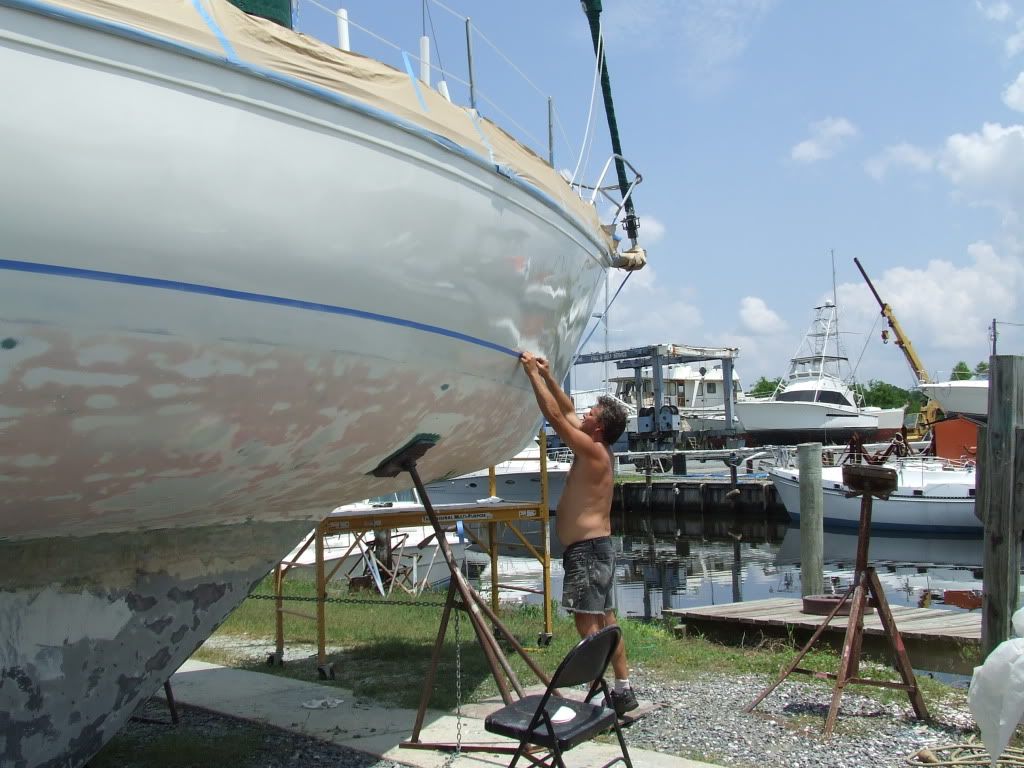
Ken sanding in the boatyard ... 2010

Since "stepping back" and chillin' our minds for a bit, I don't have much to write about regarding sailing ... yet.  So, to keep you busy I thought I'd mention that we have quite a few projects under our belt that you may be interested in.  During these projects, I tried my best to take photos and write instructions in a way that was easy to understand.  After all, this girl wouldn't know how to get too technical!

Our posts cover an assortment of topics ... from weeks in the boatyard to various projects, big and small.  Just click on the links to find all the posts from the boatyard and/or all posts related to the projects we've tackled.  Hope you learn something from them, and would love to hear what tips you may have or how our site has helped you.

Hasta luego ... until then.  Mid-Life Cruising!

Tuesday, March 5, 2013

Haul-Out Costs

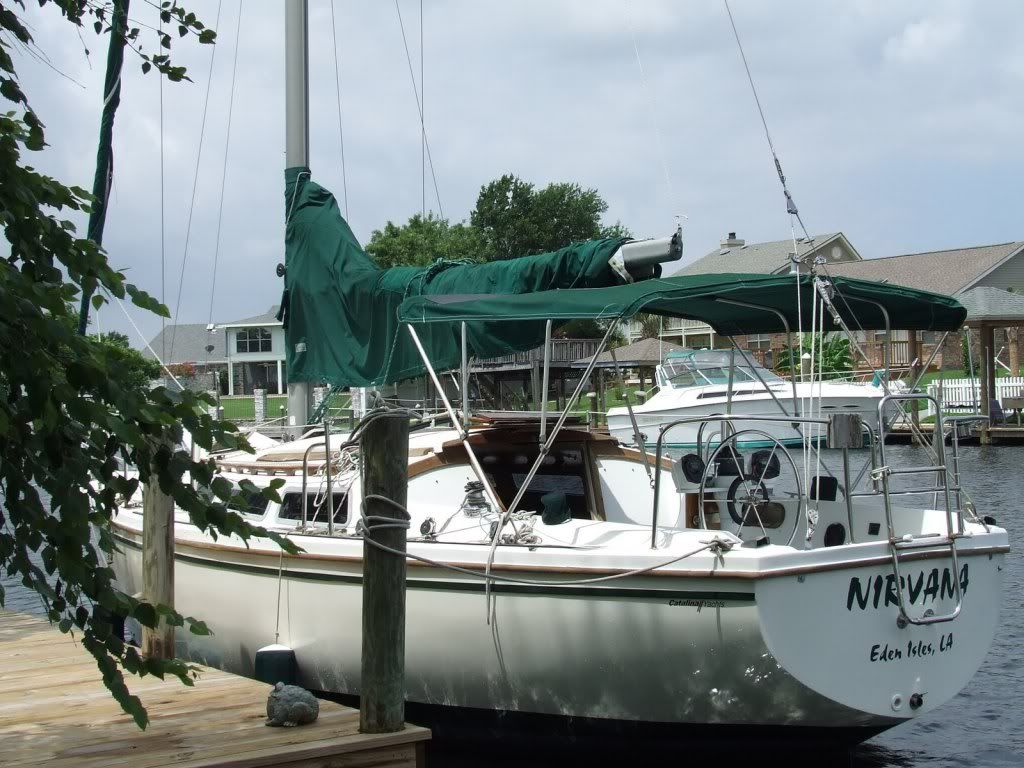
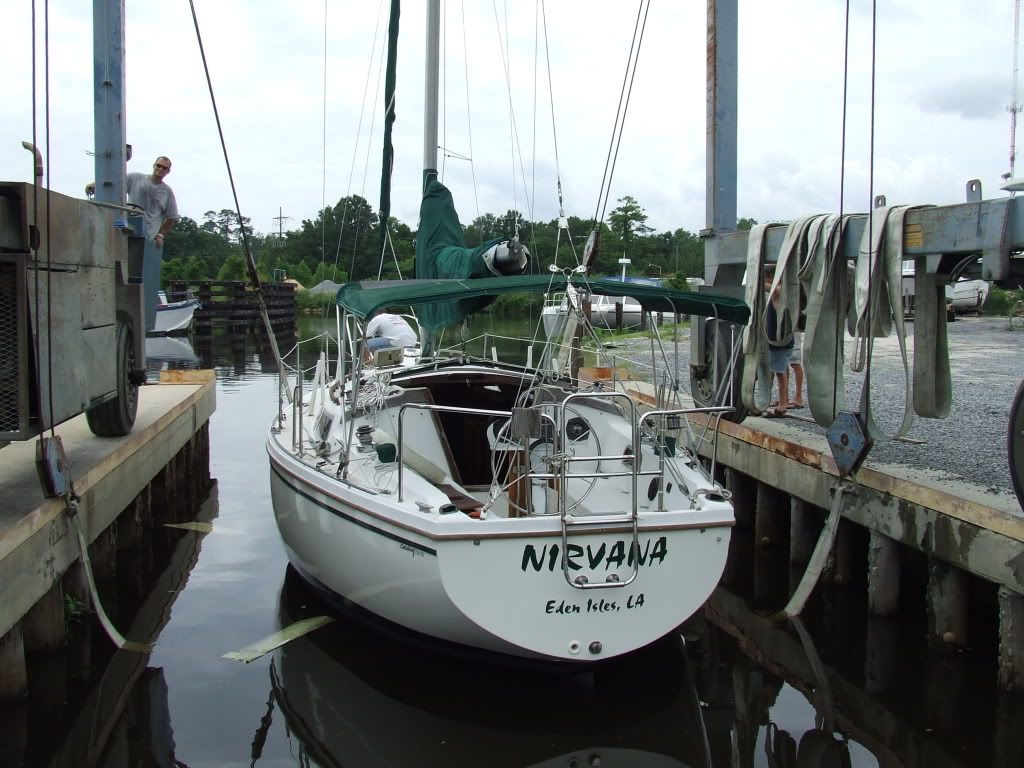
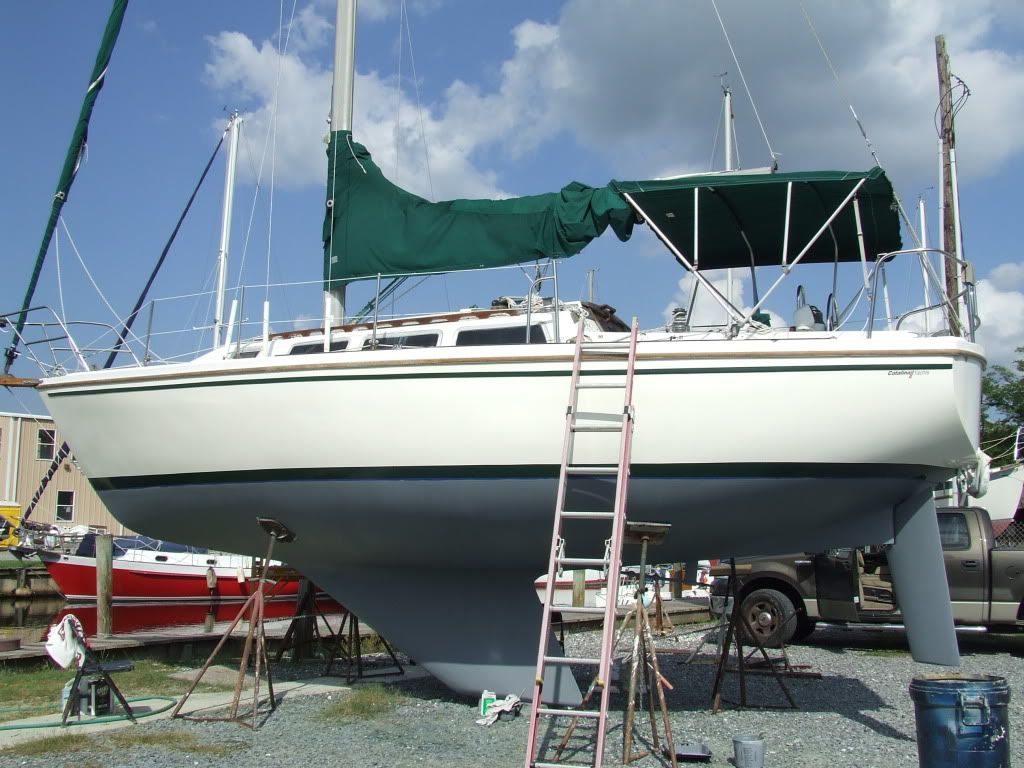
Nirvana just before her renaming ceremony!

Since our haul-out of Nirvana back in April-July 2010, we've had several inquiries as to how much it all cost.    I had an idea, but had never gotten around to adding the numbers together.  Almost 3 years later, I've finally got the figures ... better late than never!  

Ken and I had figured we'd spent around $3500 on the project.  We were pretty close, and actually spent a little less.  It's very possible we lost a couple of receipts on the small stuff, but this breakdown should be really close.  Surely we must have forgotten a few sheets of sandpaper ... I was constantly buying that stuff!  

Here's a review of our costs, including 8.75% Louisiana sales tax and/or shipping where applicable.  Some of these items are highlighted with a link, which will bring you to our post that we wrote about that topic and/or product link.

Sorry the figures aren't in a pretty line!  I thought they were ... until I was no longer in draft.  Will have to clean it up when I have time.

HAUL-OUT - Did ourselves over 10 weeks & saved a lot of money (click here for all posts about this)
                        Some of the highlights below:
  • Boatyard Haul-Out & Placement                                                                                          $300.00
  • Boatyard Pressure Wash                                                                                                        $60.00
  • Boatyard Rent for 10 weeks                                                                                                 $466.50
  • Anodes (Zincs)   2 @ $13.23 Each                                                                                        $26.46
  • Bottom Sanding Labor (Ken did a LOT of this, but needed some relief)                 $334.00
  • Sandpaper                                                                                                                           $135.37
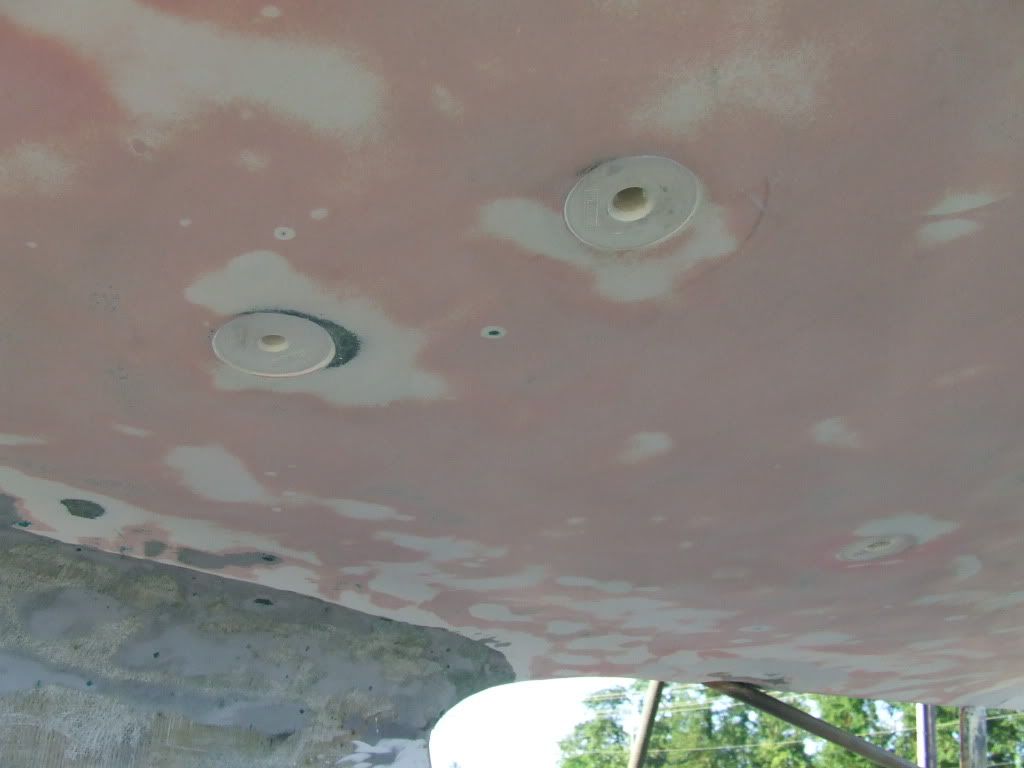
  • Blister Repairs ... about 81 blisters!
  •              Fiberglass Sheets                                                                                                      $26.32
  •              Paint Brushes                                                                                                            $28.00
  •              Epoxy                                                                                                                       $65.23
  • Bottom Painting
  •              Petit Protect Barrier Paint (3 gallons from Defender)                    $230.52
  •              Petit Trinidad 75 Anti-Fouling Copper Paint (2 gallons at Cost/$200 Off)    $304.50*
  • Boot Stripe Paint, Mar-Pro (1 quart @ 1/2 Off )                                                                  $13.05*
  • Hull Painting ... First Attempt
  •               Wax Remover/Cleaner, one gallon                                                                          $27.00
  •               Interlux Perfection - Oyster White, 5 quarts                                                          $307.75
  • Hull Painting ... Final!
  • Thru-Hulls (4)                                                                                                                       $65.25
  • Transducers (Speed & Depth) @ $100 Each                                                        $217.50
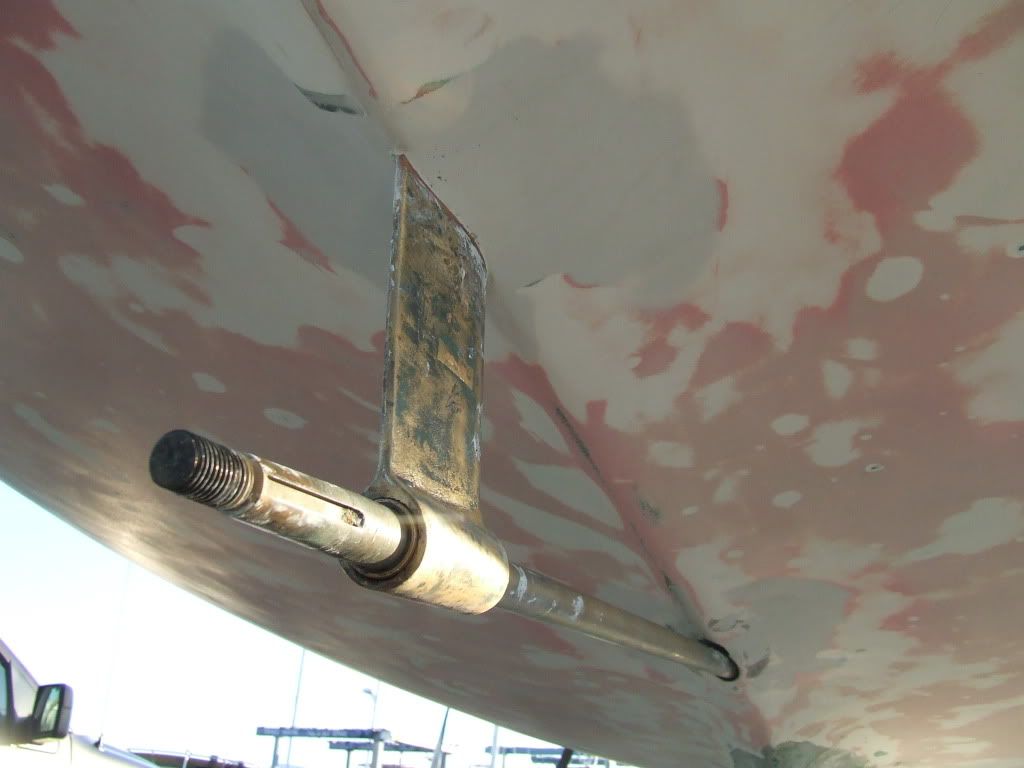
  • Strut Tightened .. Not as easy as it sounds!
  • Prop Shaft castle nut with key                                                                                               $19.15
  • 3-Blade Prop - Catalina Direct ($383 - $250 for sale of 2-blade prop)            $133.00*
  • Cutlass Bearing Replaced                                                                                                    $40.24
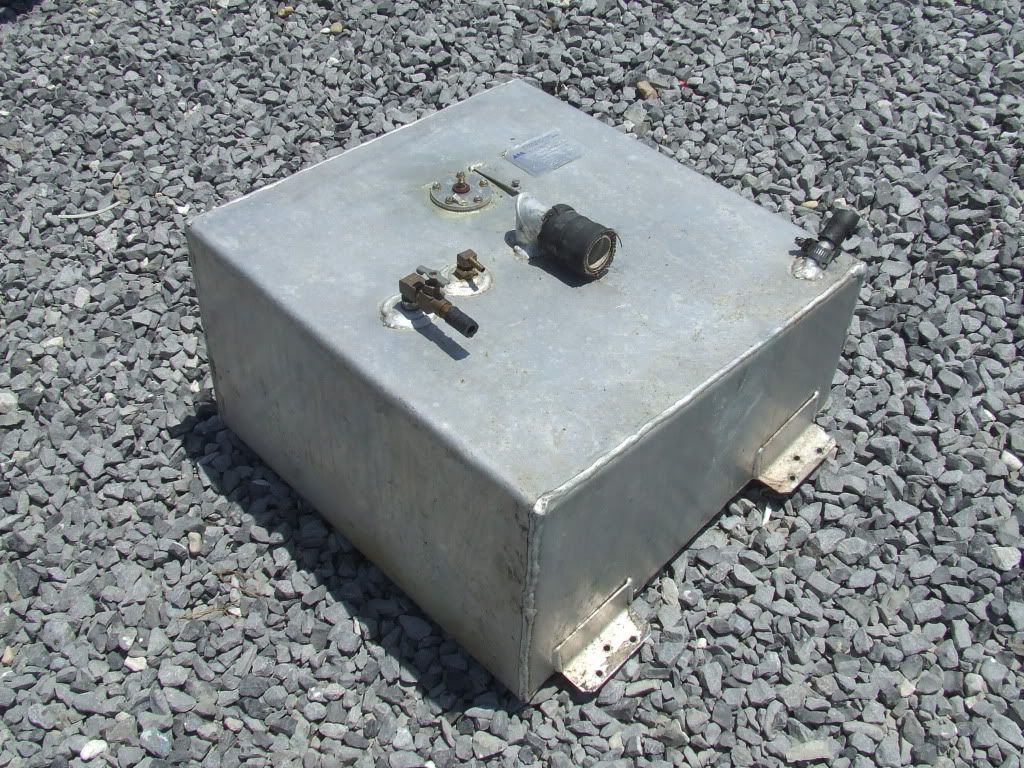
  • Fuel Tank ... new bottom welded on                                                                                  $125.00
  • Catalina decals (2) - Catalina Direct                                                                                     $21.40
  • Vinyl Decal for new name and port                                                                                       $27.34
  • Filler - Formula 27                                                                                                               $44.97
  • Misc Supplies                                                                                                                    $256.12
      Haul Out Total:                                                                                                                 $3274.67


* Some of these items were purchased at a discount, such as the boat paint which was purchased at a pretty good discount from a local hardware store that was going out of business.  The 3-blade prop was paid at full price, but the sale of the 2-blade prop was applied to its purchase.

So there ya have it!  Hope this helps give an idea of what this stuff costs.  Gathering all the receipts has got me working on the costs of everything we've spent since Nirvana's purchase.  I posted a new page called, "Pre-Cruising Expenses" if you wanna see what all of this has cost us so far.

Hasta luego ... until then.  Mid-Life Cruising!

Monday, November 8, 2010

Replacing the Cutlass Bearing


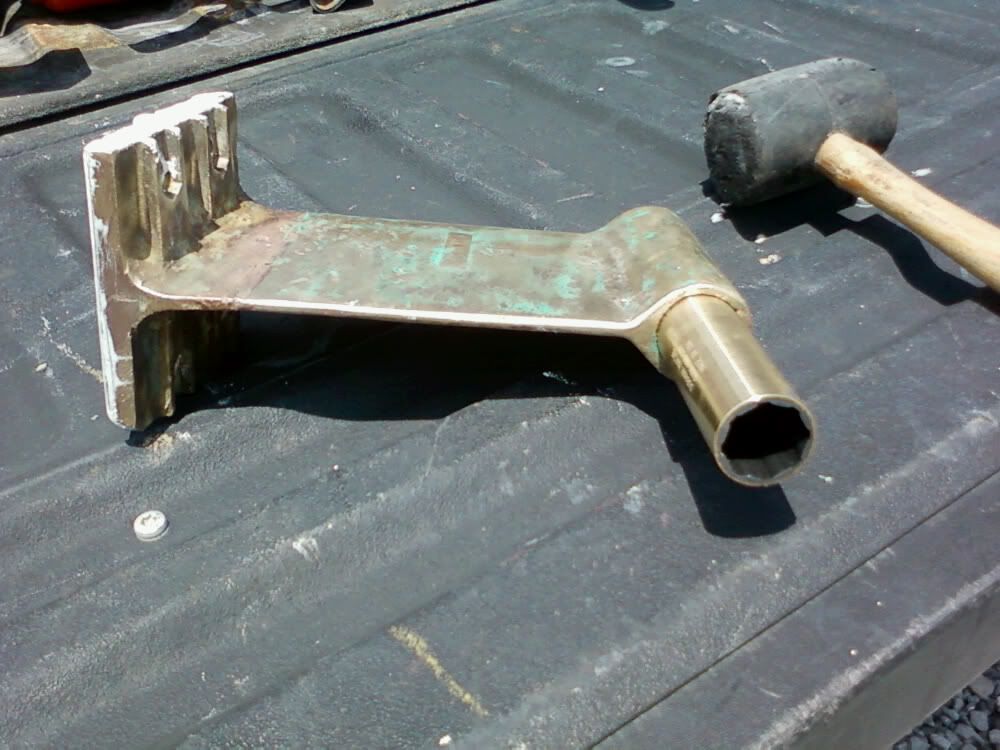
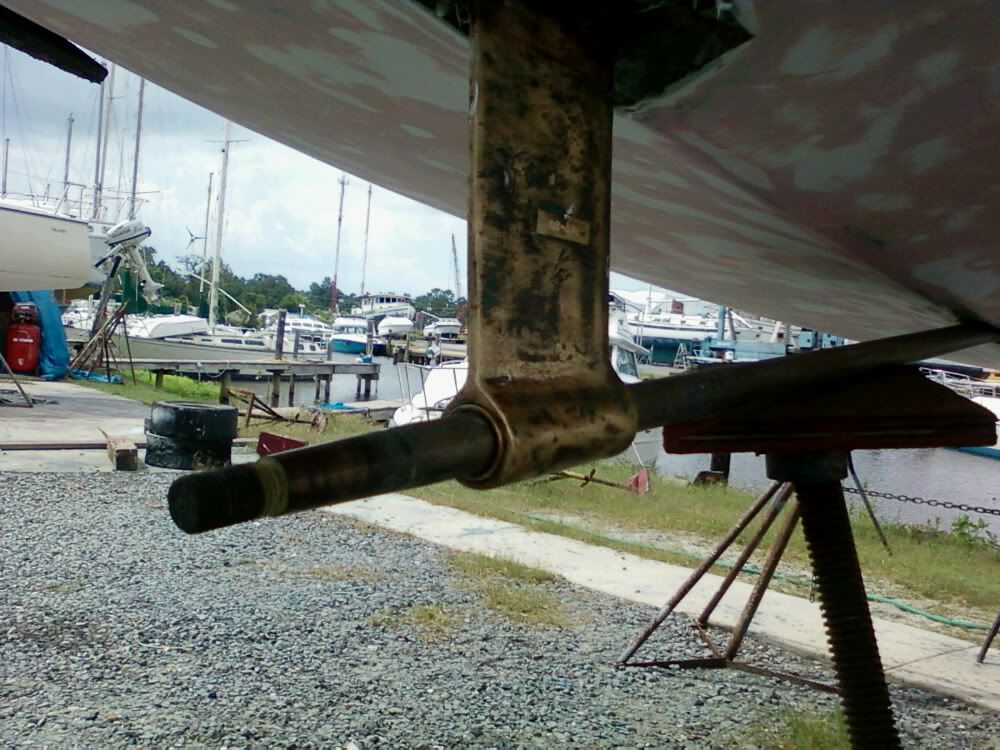
Ken and I have been busy this past week working and also getting some stuff done on our house.  Since we didn't do any "sailboat" stuff, I thought I'd share a tip that we learned during our sailboat haul-out.  The picture above is a new cutlass bearing partially in the sailboat's strut.  It's tempting to use that rubber mallet, but don't do it!  We have a better way below.  For those of you who aren't sure what a cutlass bearing is, it's that brass "tube" which goes into the strut.  The cutlass bearing has rubber strips inside of it, which tightly hold the prop shaft, yet allow the shaft to rotate and turn the prop.

During our haul-out of Nirvana, Ken and I often found ourselves scratching our head and thinking, "How do we do that"?  One of these times was when we realized that the cutlass bearing on our Catalina 30's strut really needed to be replaced while we had our sailboat out of the water. 

We had two questions:  How do you get the thing out of the strut?  How do you get the new one back in? 

We weren't sure what to do, so Ken called our friend Martin.  Martin has been a liveaboard for many years and knows a lot about sailboats.  We thought Martin was brilliant when he came up with an answer to both questions!  Thank you, Martin! 

To remove the old cutlass bearing, Martin instructed Ken to use a hack saw and cut the old cutlass bearing out of the strut.  Since the strut was loose and the bolts needed to be tightened, we already had removed the strut from the bottom of our sailboat (much more complicated than it sounds)!  Therefore , Ken was able to clamp the strut to his workbench and cut the old cutlass bearing out of the strut.  He tried the hack saw, but it was taking forever so Ken figured he'd try his reciprocating saw.  He was very careful, and in no time he had the old cutlass bearing out of the strut.

Strut with new cutlass bearing holding prop shaft

The next step was to install the new cutlass bearing into the strut, which is a very tight fit.  Martin had suggested that we take a large all-thread bolt with washers on each end with a nut to draw the cutlass bearing into the strut by tightening the nut.  At first Ken was a little impatient and figured he'd try to force the cutlass bearing into the strut with a rubber mallet.  I was very nervous about this, as we had ordered the cutlass bearing and did not have time (or money) to waste by having to order another one if this cutlass bearing got damaged.  Anyway, after a few hits with the rubber mallet the cutlass bearing started to "mushroom" slightly and Ken decided to call it quits before he wasn't able to use the new cutlass bearing. 

So, with nut and bolt in hand, Ken and I made a visit to Martin for some more advice.  We were really getting anxious to have this project behind us, as we were on a tight schedule to get our sailboat back in the water and we didn't want to waste another day!  Well, once again Martin saved the day!  The bolt we purchased wasn't quite right, and Martin happened to have the right all-thread bolt on hand.  Okay, so here is what Martin did, and I'll do my best to explain it.  Martin aligned the bearing with the strut, inserted the all-thread bolt through the strut and through the bearing with a washer on the end that was inserted to hold the bolt against the strut, then put a washer and a nut on the opposite side of the bolt against the bearing, and then tightened to pull the bearing into the strut.  He started turning .... ever so slowly, as this is not an easy task.  He also continued to spray the cutlass bearing with a lubricant in order to help it go into the strut a little easier.  After about what seemed to be 10 minutes, the new cutlass bearing was in the strut!  Thank goodness for friends with sailboat experience!

For those of you faced with having to replace the cutlass bearing on your sailboat's strut, I strongly recommend the above.  It works!  I'm sure we'll have some more "how-to" tips to share in the future!

 Hasta luego ... until then.  Mid-Life Cruising!

Saturday, July 24, 2010

Nirvana Before n After


Well, Ken and I have been busy this past week trying to earn a living, mostly by trimming shrubs and cleaning out garden beds of a customer of ours .... 3 days in 105 degree heat index.  So, the water pump still isn't installed in Nirvana yet.  We're not missing much sailing this weekend anyway, due to T.S. Bonnie headed straight towards us (New Orleans).  It's already starting to rain a little, and it's supposed to continue through Monday.  We are relieved to hear that the storm is falling apart, and hopefully there will be no tar balls in Lake Pontchartrain afterwards.  About 1500 lbs. of tar balls were removed from our lake a few weeks ago after a storm (Alex), so it's very stressful during this hurricane season.

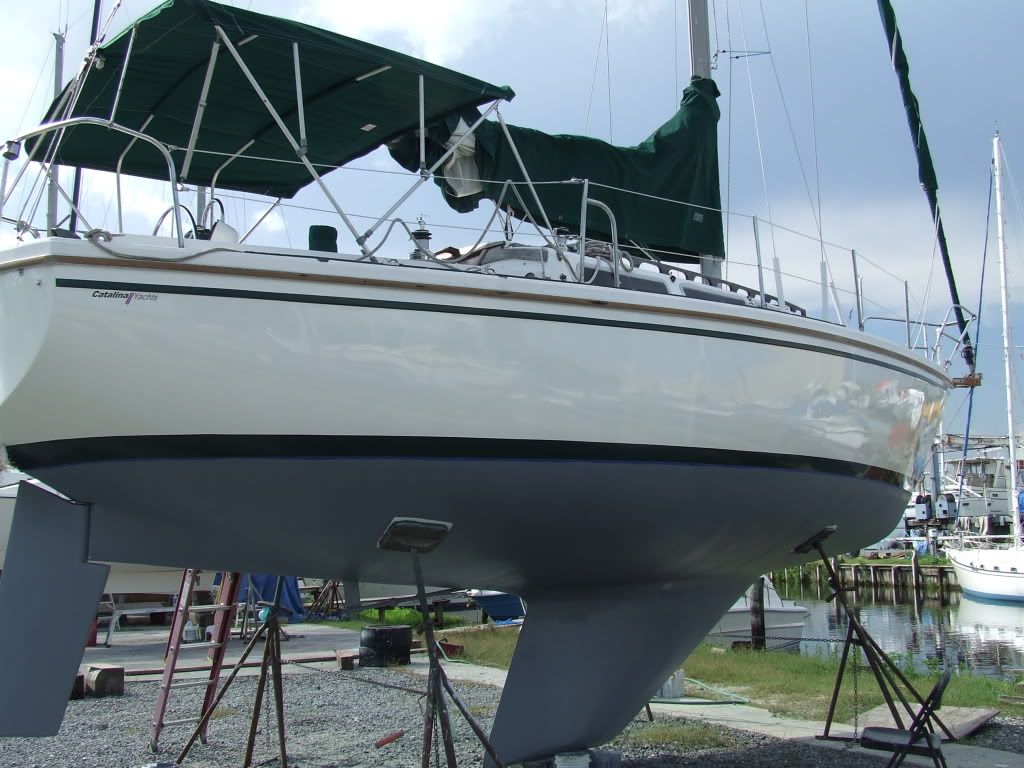
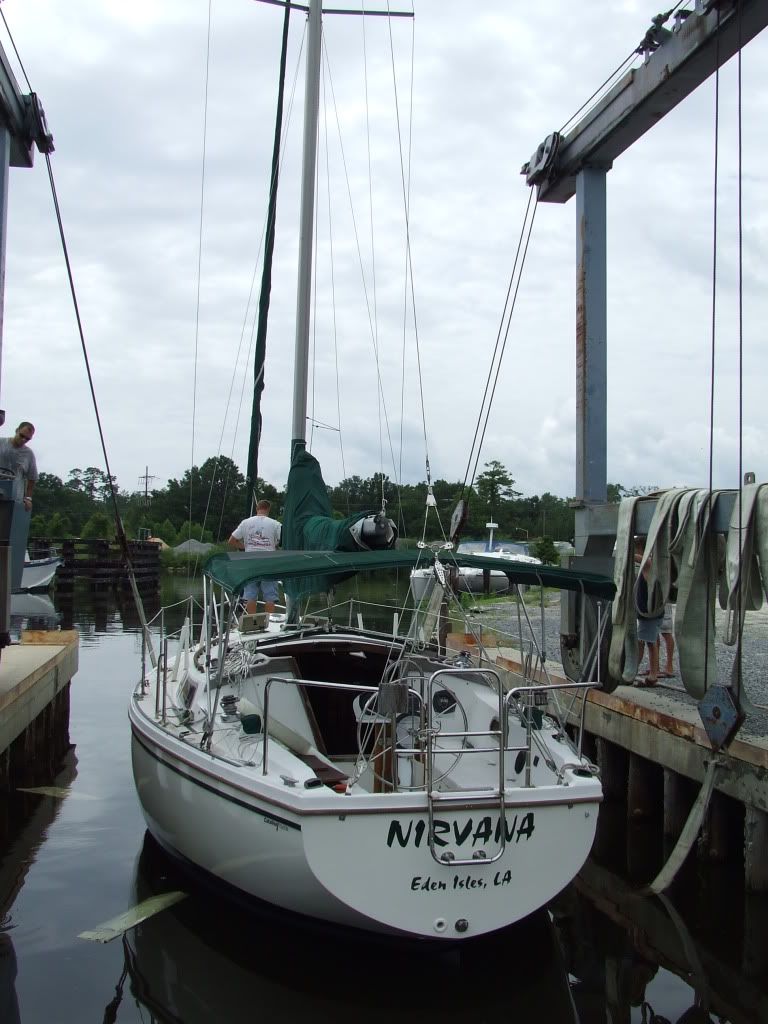
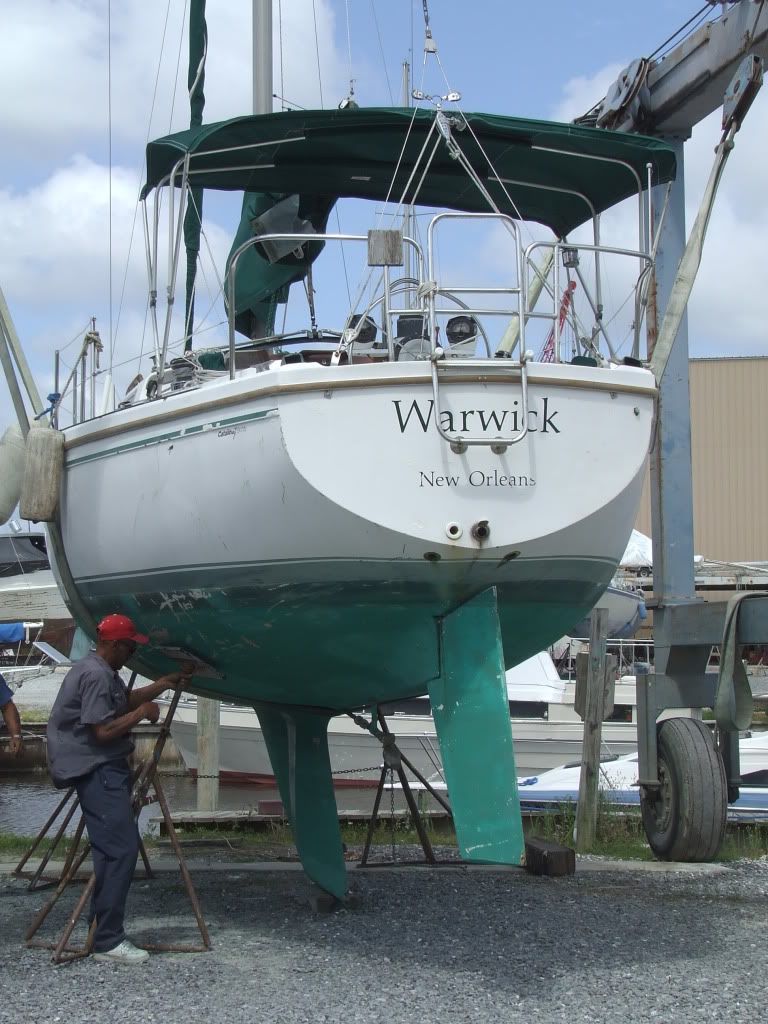
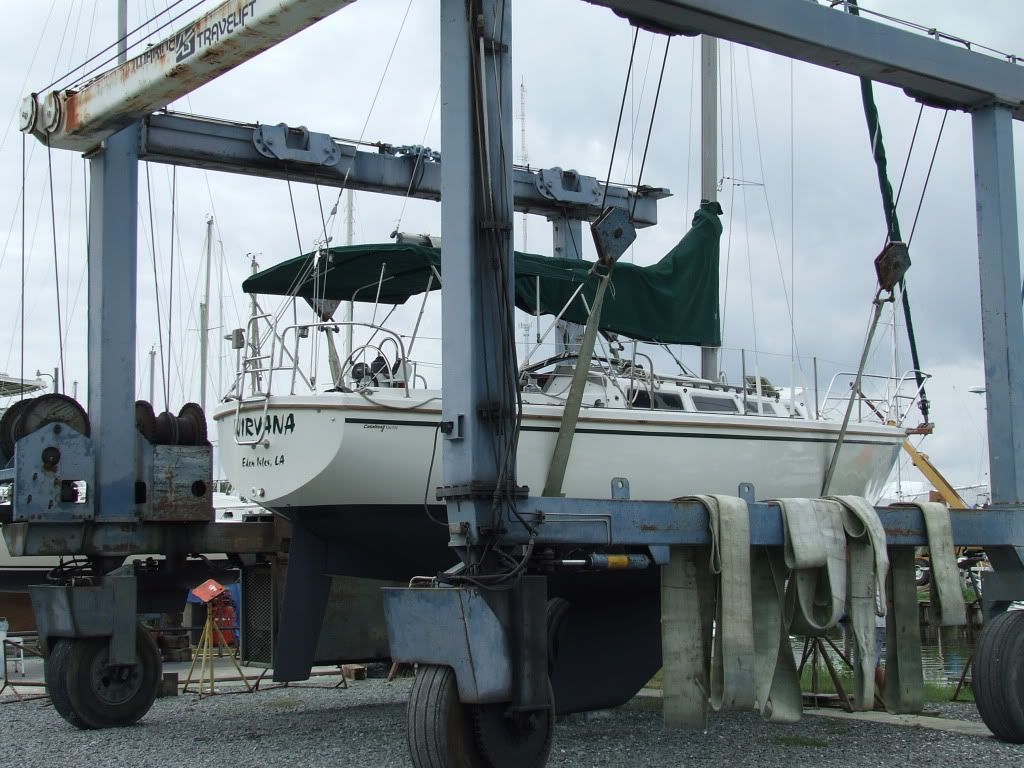
Since there's not much sailing action just yet, here are a few pictures of our Catalina 30 before and after her recent haul-out.  If you click on the picture, you can enlarge it for a better view.  The two below show her being pulled out of the water and then being put back in the water 2 1/2 months later. 


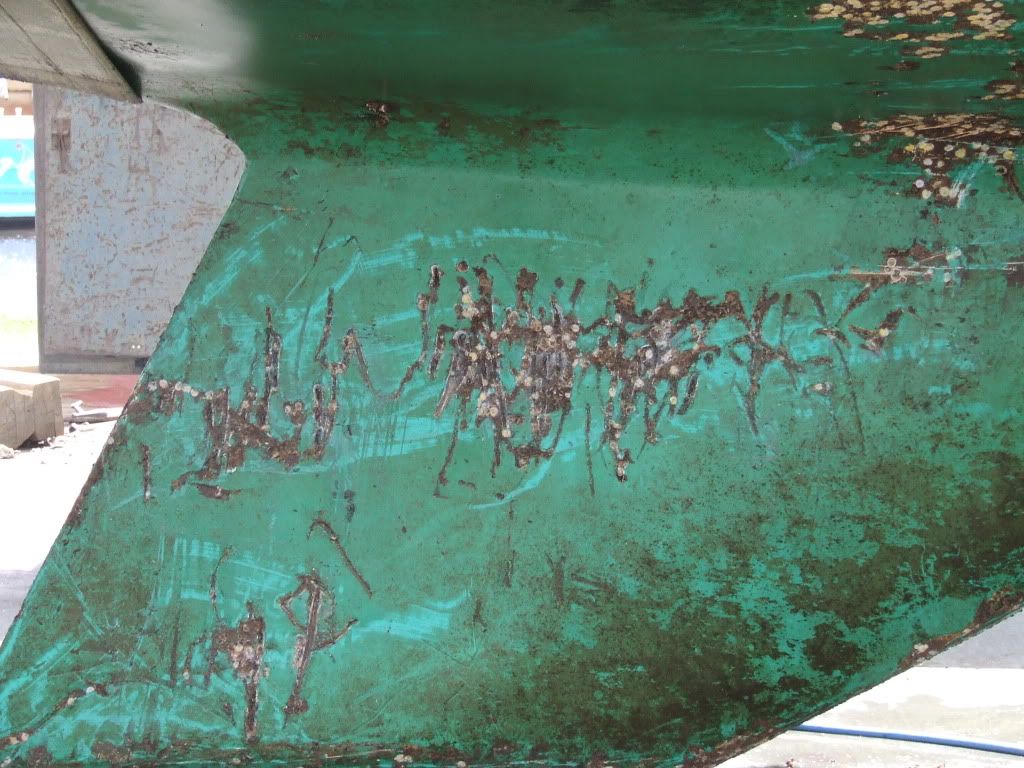
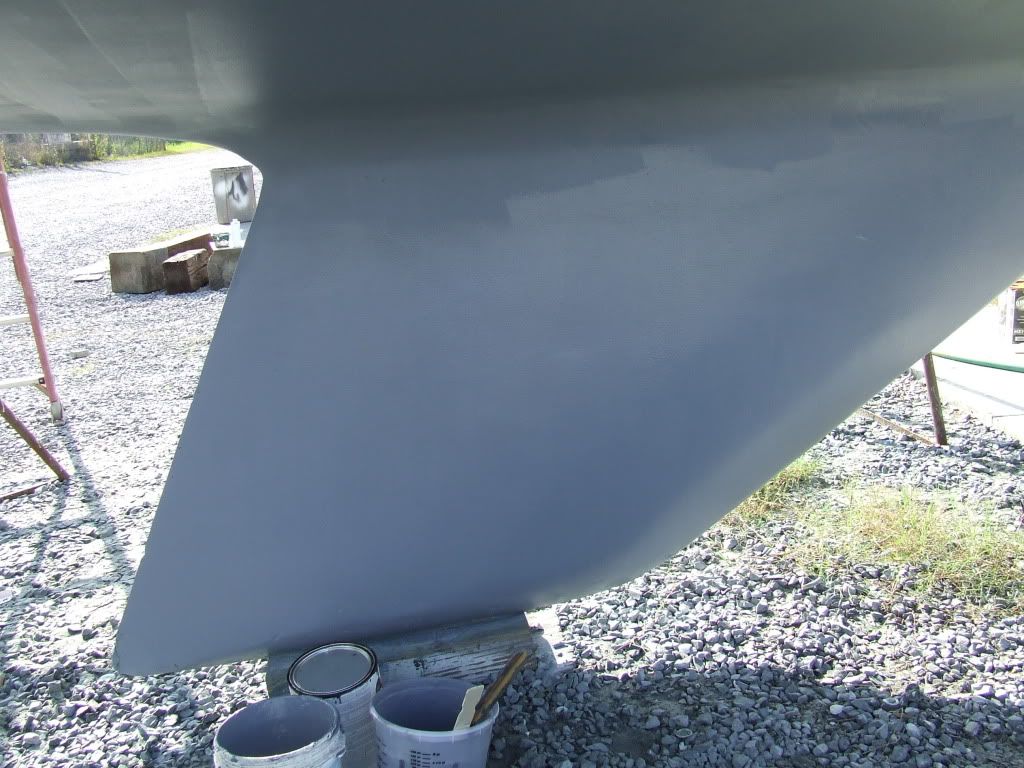
These two pictures show the keel shortly after being pressure-washed at the boatyard and then after Ken repaired the keel and repainted it.  We believe the deep scratches in the keel are a result of Hurricane Katrina.


Here is another set of pictures showing our Catalina 30 with her old name and her new name after denaming and renaming ceremonies, of course.  We also changed the bottom paint color from bright green to what I'd call an eggplant color.  A local hardware store was going out of business and had two cans of paint left on the shelf at 40% off.  One can was black and one can was electric blue.  We figured at 40% off we didn't really care what color our sailboat's bottom was.  We figured we'd wind up with navy blue, but it's more like purple!  We're still glad we saved the money, and I'm starting to like the color.  How many sailboats have a purple bottom?!


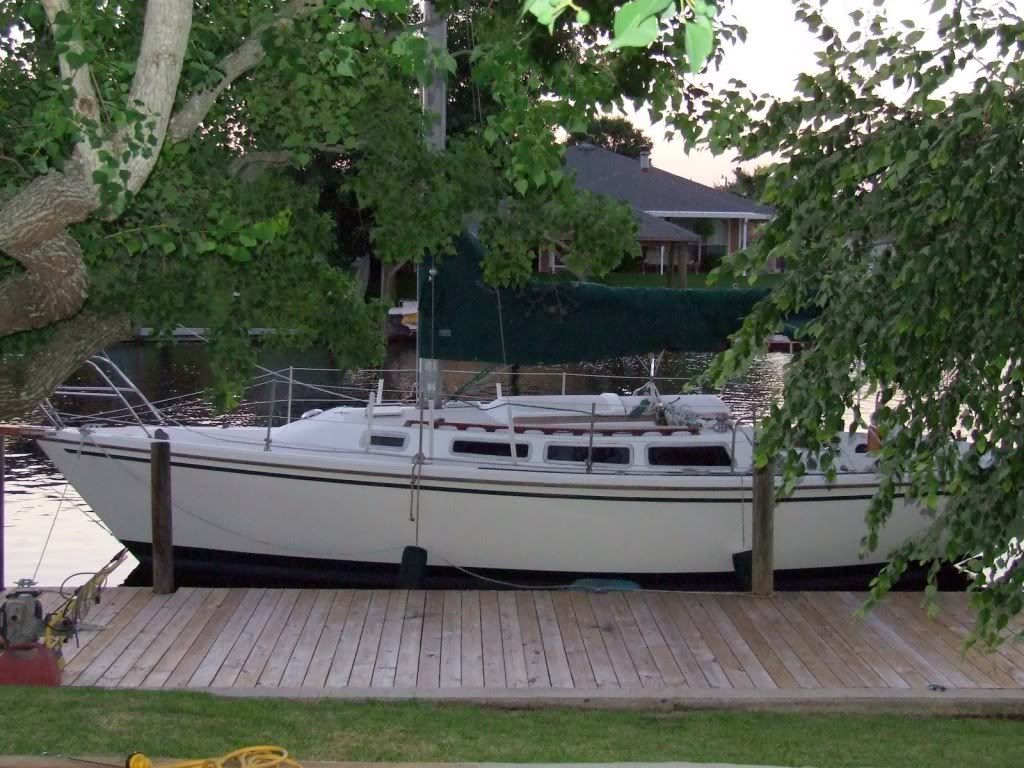
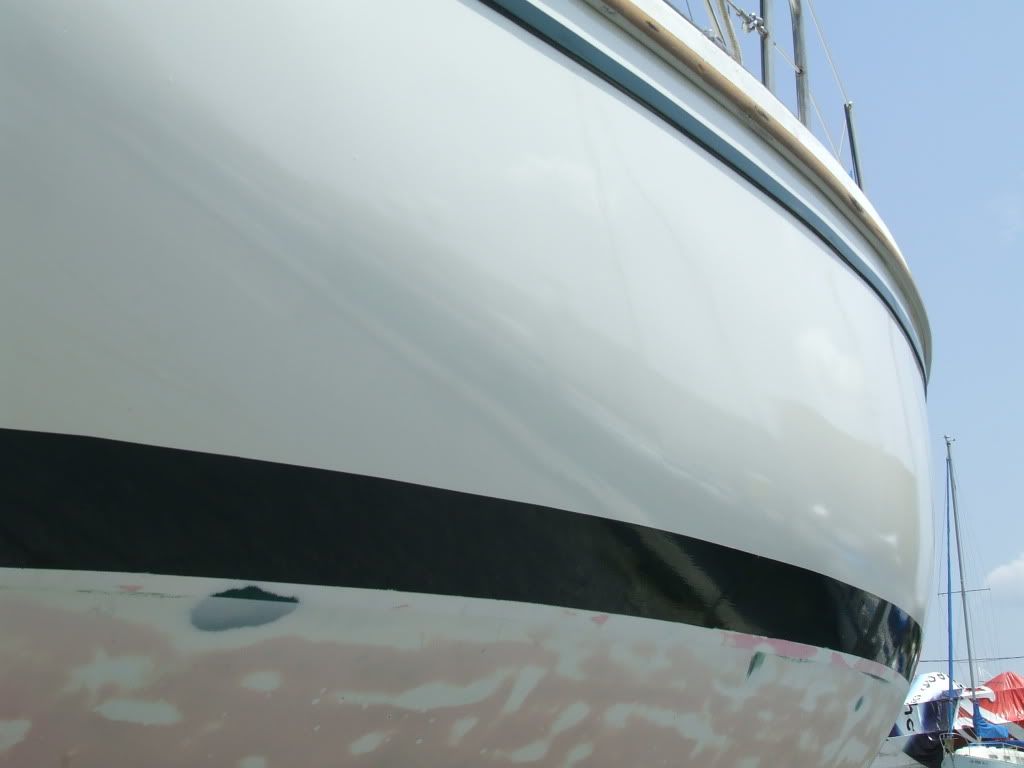
Below is a picture of Nirvana shortly after purchasing our sailboat, and then a picture of Nirvana at rest after the haul-out.  You can see the hull was a little damaged and very dull.  When we repainted the boot stripe, we went with a darker green color and one solid green stripe instead of trying to complicate things with one thick and one thin stripe.  We also went with "Oyster White" (Interlux Perfection), which is a little creamier and softer color than the original white color.


We are really pleased with the results of all our hard work!  Don't look too close, or you'll see that one of our next projects needs to be refinishing the teak.  We'll probably tackle that project (inside and out) this fall after we've taken a much needed break and the weather is a little cooler.  Who wants to work in a heat index of 110 degrees?!  In a future post we'll break down the costs of the haul-out ... not cheap! 

 Hasta luego ... until then.  Mid-Life Cruising!

Monday, July 5, 2010

Nirvana is Home!


This past Friday Ken installed the fuel tank and the thru-hull valves while I spray painted the life ring to cover what remained of the old name (and to change from ugly yellow to off white).  While installing the fuel tank Ken put a thin layer of rubber underneath the tank to avoid any friction against the tank.  We decided to use our original fuel tank instead of buying a new plastic tank.  A local welder tested the tank and found no leaks, but since we had the fuel tank out of the sailboat we had a new bottom welded to the tank just to make sure.  Anyway, adding that little thin layer of rubber underneath the tank caused the tubes to be too short.  Another trip to the hardware store!  The thru-hull valves were also a challenge, as they were hard to get to.  As I've said so many times, these little projects took longer than expected.  By 3:30 Friday afternoon we had the tank full of diesel and were finished with our haul-out project.  We just needed to make sure that the batteries were charged and the engine would start.  So, I turned the ignition key and... nothing.  Ken checked the batteries and they seemed okay.  We did this over and over for about 15 minutes and couldn't figure out what the problem was.  We quickly got discouraged, as we thought we were done and now this!  We were relieved and feeling a little foolish when we realized that we hadn't pulled the choke or pushed the "start" button!  I guess we were just a little too anxious, but luckily that was the only reason the engine wasn't starting. 


 A few minutes later we told the boatyard to "come and get her", and we were finally watching Nirvana being carried to the water.  It was a great feeling, not to mention it was just in time for the 4th of July weekend!


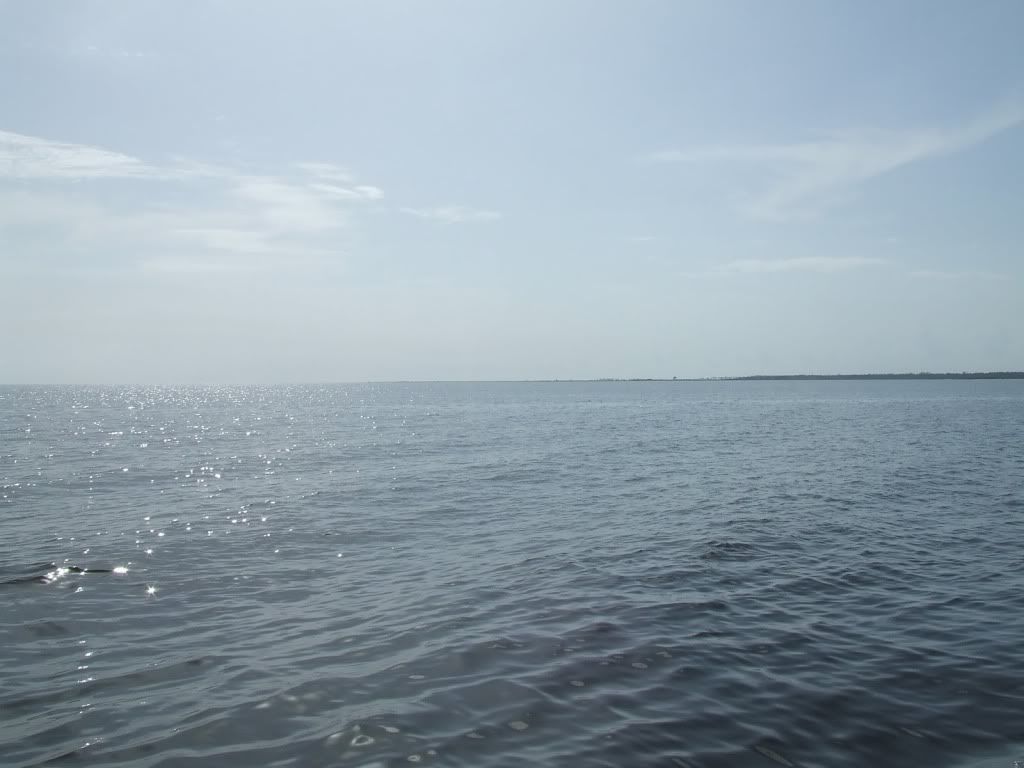
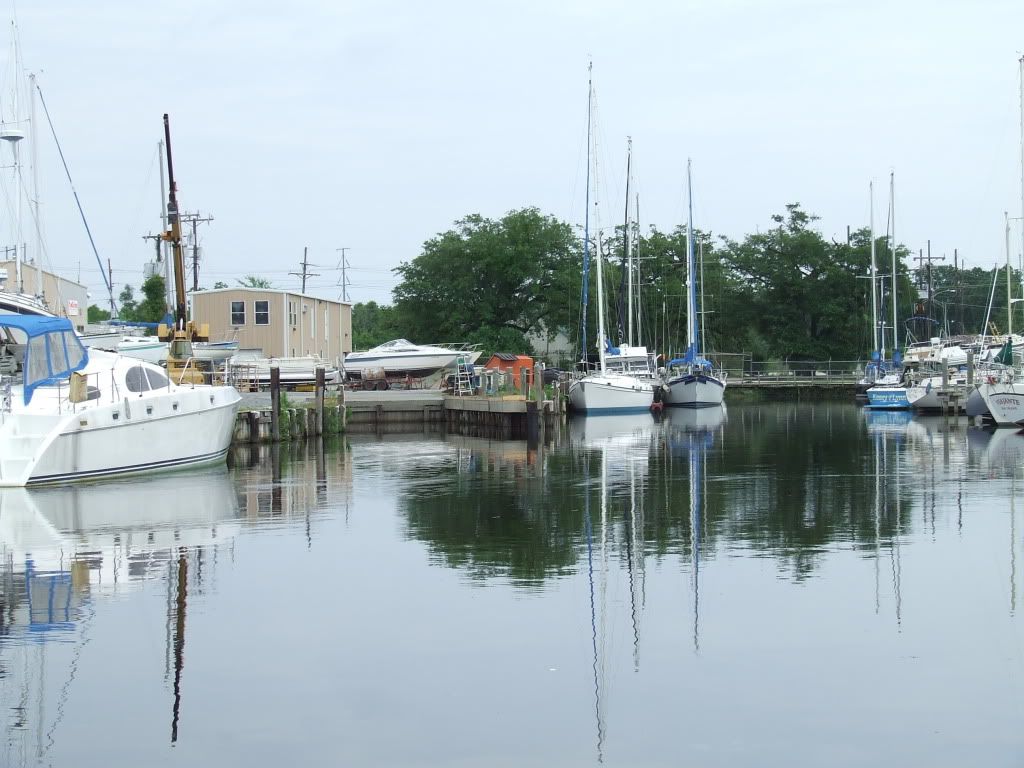
Above is view of the boatyard from Nirvana as we were leaving, as well as a picture of Lake Pontchartrain as we were crossing it.  The lake was like glass with the sun glistening on the water.  The weather forecast had called for rain all day, but luckily the forecast was wrong.  It was a gorgeous afternoon!  There wasn't much wind, so we motored the whole way home which took about 2.5 hours, but we weren't complaining!

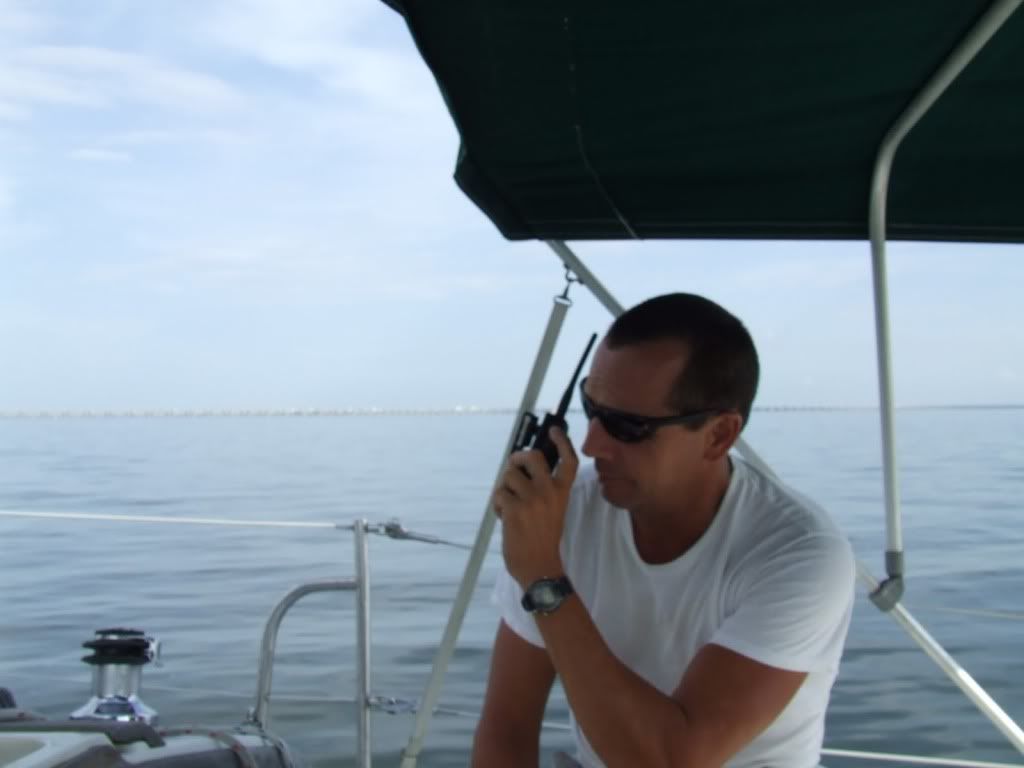
Our friend, Ted, took a ride and he called the Hwy. 11 bridge on his VHF.  We're not used to calling the bridge, so we let Ted do it.

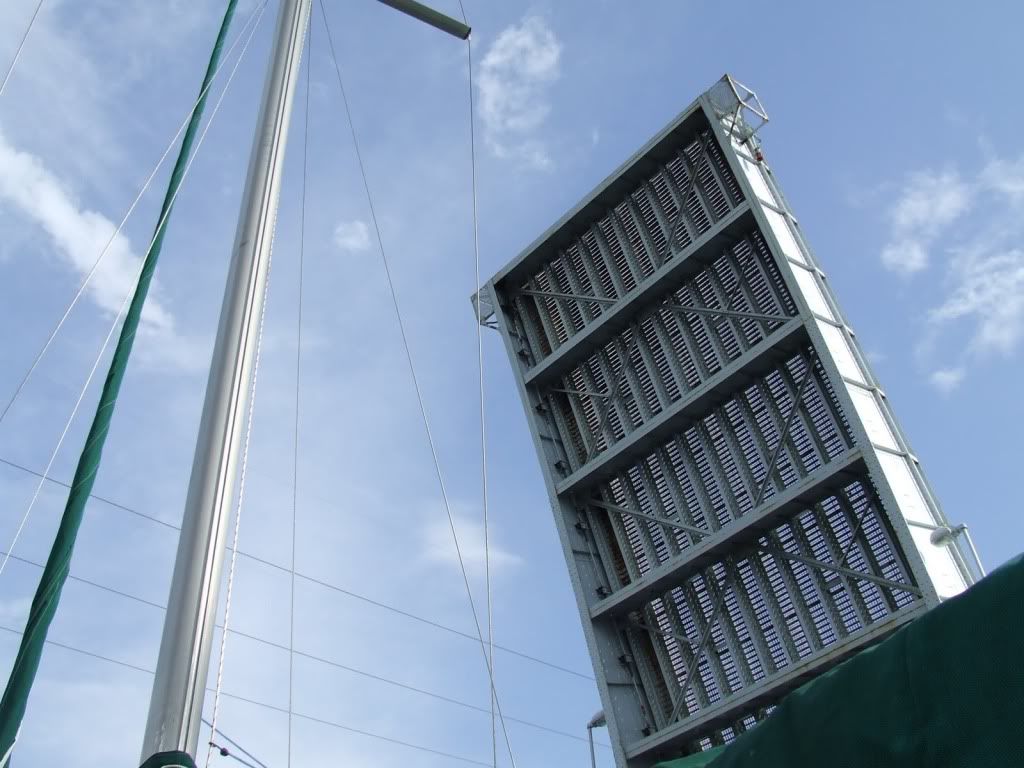
Bridge open and our sailboat going through. 

Enjoying the ride!

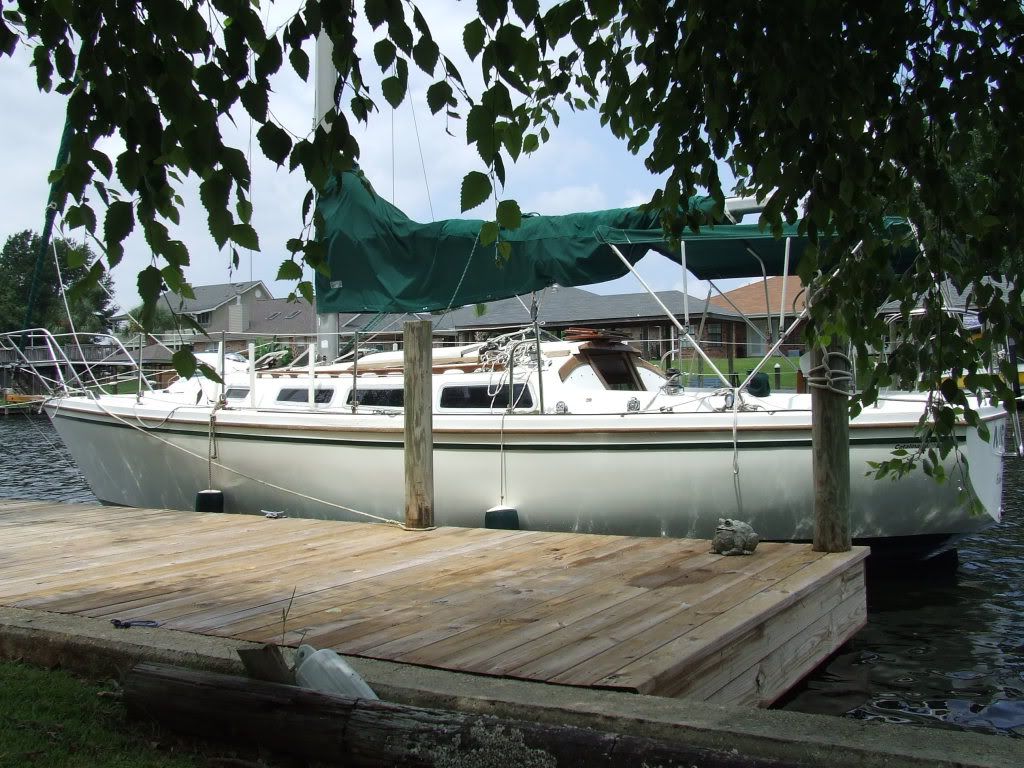
Nirvana home in our backyard!

  Hasta luego ... until then.  Mid-Life Cruising!

Tuesday, June 29, 2010

Boat Renaming Ceremony


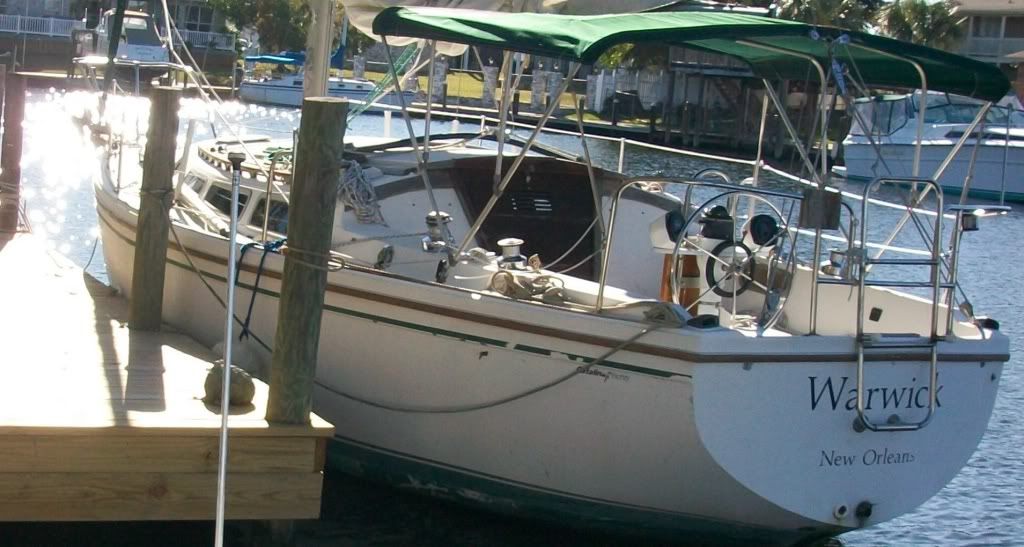
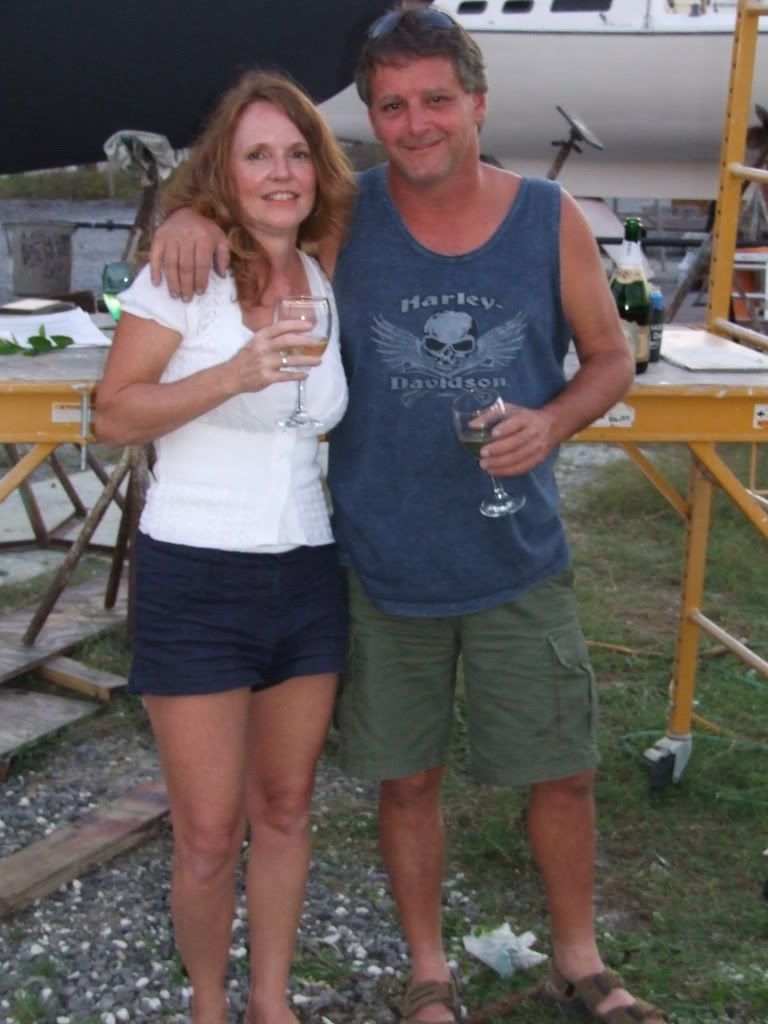
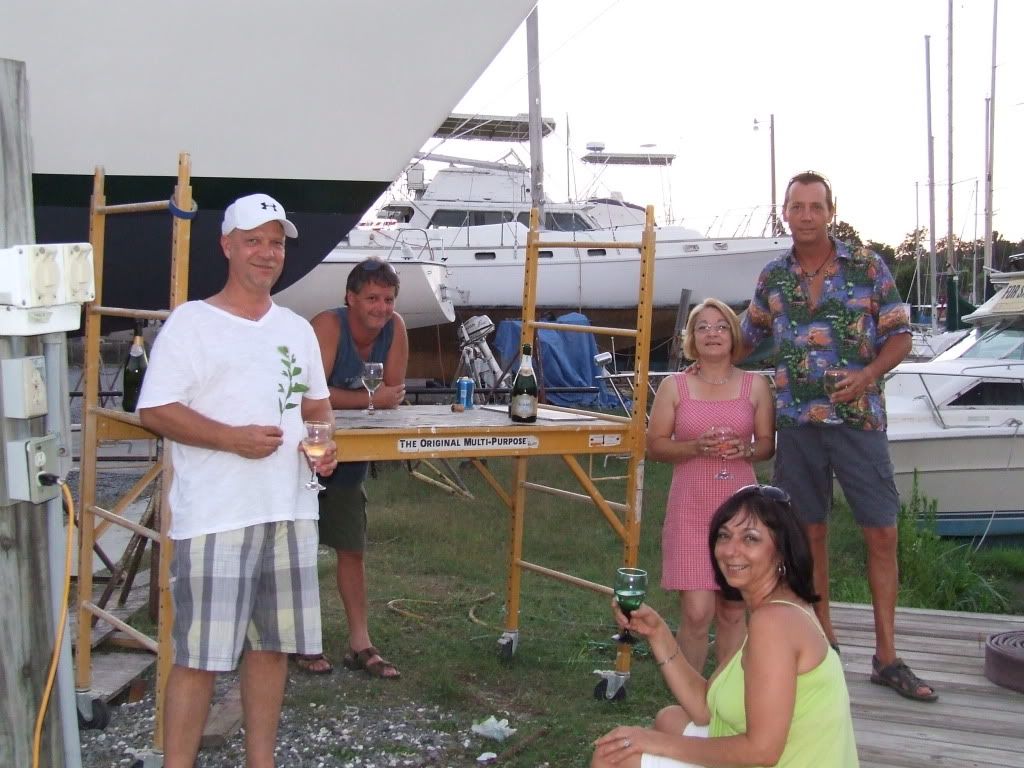
This past Friday night we finally had our denaming and renaming ceremonies.  After our boat almost slipped off its stands earlier that day we thought it was the perfect evening to have a drink!  I searched the internet for ceremonies, and chose Vigor's Denaming Ceremony (John Vigor is a boat writer and editor) and Commander Bob's Boat Christening Ceremony.  We're not superstitious people, but we figure it's better to be safe than sorry!  We don't want to do anything to upset the gods, and we need all the good luck we can get!  Before the ceremony I went through the entire sailboat to make sure that I removed anything with the old name (Warwick) on it.  The prior name was also removed from the boat and the area sanded well.  Our life ring has the old name on it, so I will sand it off and paint it before it goes back on board. 


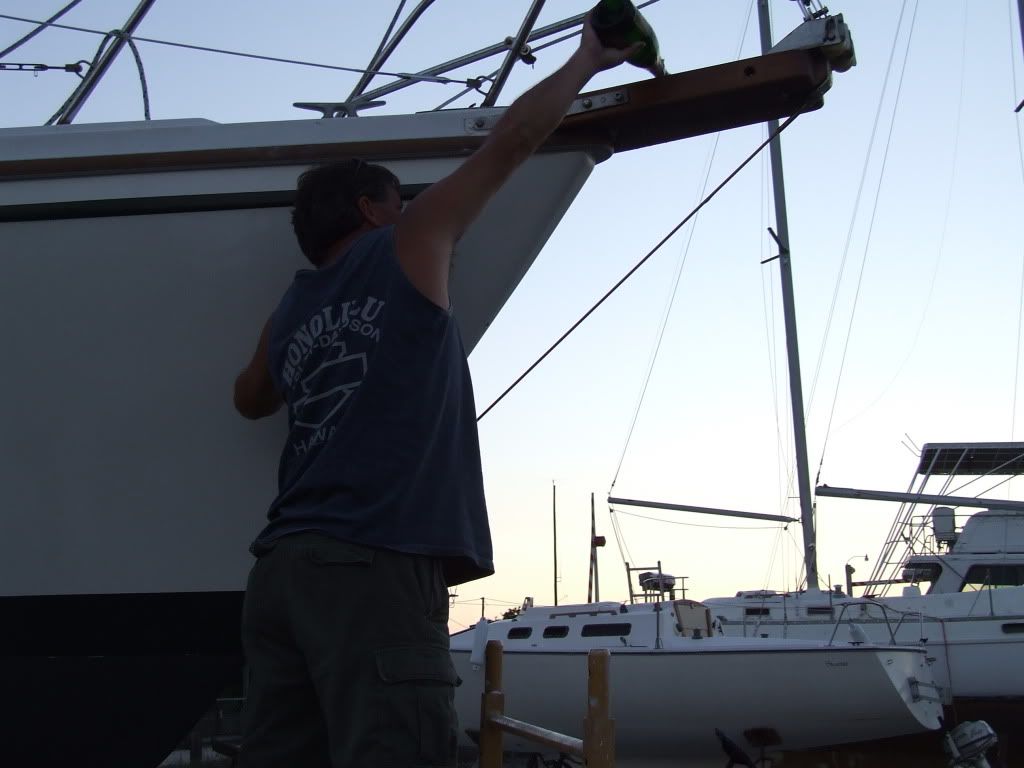
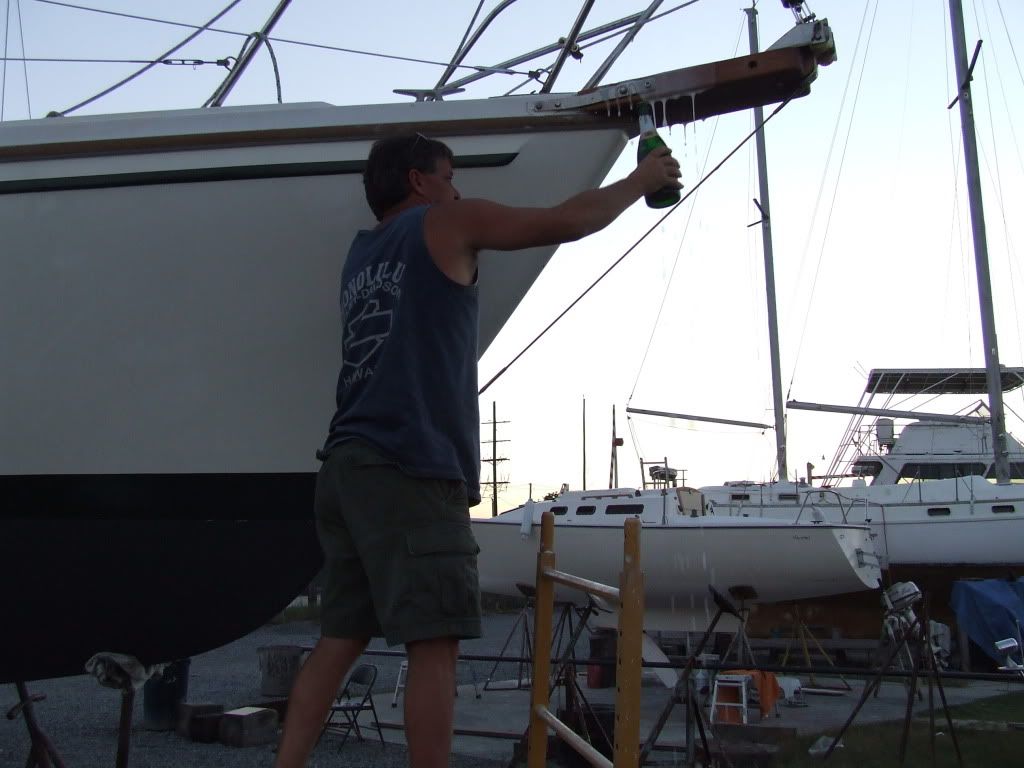
We brought two bottles of champagne, as one bottle of champagne is for the boat only and not to be shared.  We gave the best bottle to the gods, as this is not the time to be stingy!  We used our scaffold for Ken to climb on and pour the champagne over the bow.  (With the brand new paint job, he actually poured the champagne on the bow spread).  Once the corks were popped and the champagne poured into glasses, I began reading Vigor's Denaming Ceremony: 


"In the name of all who have sailed aboard this ship in the past, and in the name of all who may sail aboard her in the future, we invoke the ancient gods of the wind and the sea to favor us with their blessing today.  Mighty Neptune, king of all that moves in or on the waves; and mighty Aeolus, guardian of the winds and all that blows before them:  We offer you our thanks for the protection you have afforded this vessel in the past.  We voice our gratitude that she has always found shelter from tempest and storm and enjoyed safe passage to port.  Now, wherefore, we submit this supplication, that the name whereby this vessel has hitherto been known ____, be struck and removed from your records.  Further, we ask that when she is again presented for blessing with another name, she shall be recognized and shall be accorded once again the selfsame privileges she previously enjoyed.  In return for which, we rededicate this vessel to your domain in full knowledge that she shall be subject as always to the immutable laws of the gods of the wind and the sea.  In consequence whereof, and in good faith, we seal this pact with a libation offered according to the hallowed ritual of the sea".                                                        
 
After the denaming ceremony Ken poured half of the bottle of champagne on the bow, and we all raised our glasses to a toast.  After a few drinks of champagne I began Commander Bob's Christening Ceremony:

"For thousands of years, we have gone to sea.  We have crafted vessels to carry us and we have called them by name.  These ships will nurture and care for us through perilous seas, and so we affectionately call them "she".  To them we toast, and ask to celebrate (name of boat)".  Then everybody raises their glasses and shouts "To the sailors of old... to (name of boat).  Everybody takes a sip.

Then follow with: "The moods of the sea are many, from tranquil to violent.  We ask that this ship be given the strength to carry on.  The keel is strong and she keeps out the pressures of the sea."  Again the glasses are raised, and everybody shouts, "To the sea...to the sailors of old...to the sea!"  Another sip.

Then: "Today we come to name this lady (boat name), and send her to sea to be cared for, and to care for the (name of family) family.  We ask the sailors of old and the mood of God that is the sea to accept (boat's name) as her name, to help her through her passages, and allow her to return with her crew safely".  Again, raise the glasses and shout, "To the sea...to the sailors before us...to (name of boat)."  A long, last sip.


Ken then poured the last half of the god's champagne onto our sailboat's bow spread and we enjoyed finishing off the rest of our own champagne.  Ken also layed a branch of green leaves (from our friend, Ted's,  place) on the deck to ensure safe returns.  The following morning Ken put on the new name and port.  Our Catalina has her new name, Nirvana!
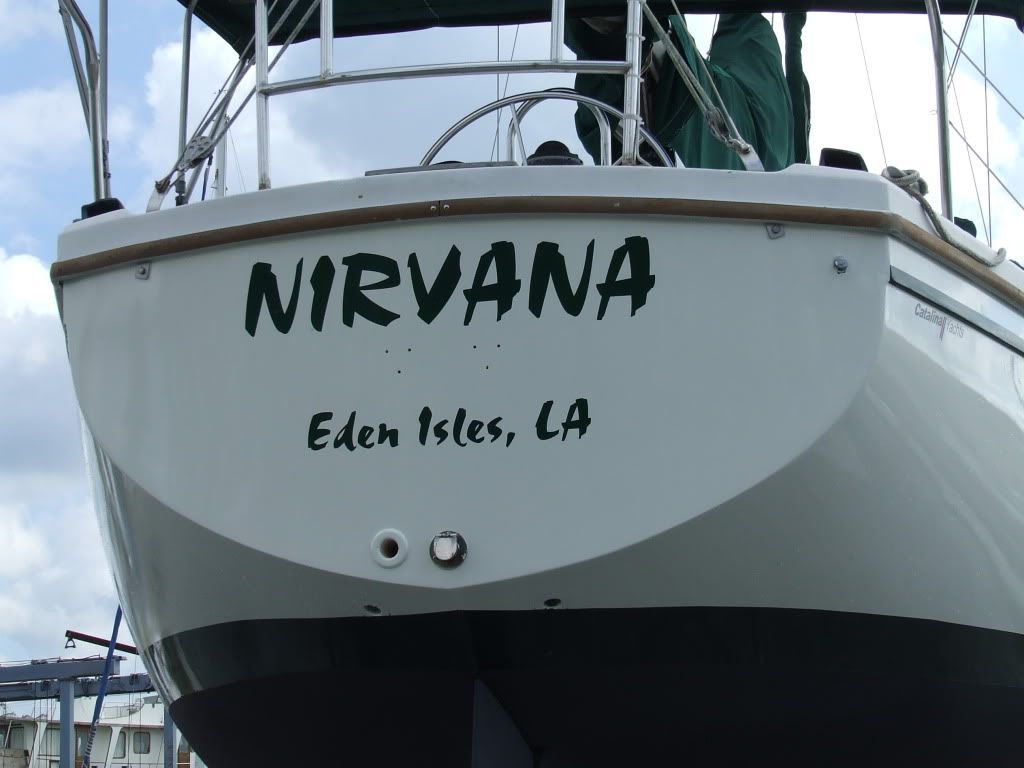

This past weekend Ken also sanded and painted the areas where the stands had originally been, installed the swim ladder on the stern, re-fiberglassed the interior over the strut bolts (under the fuel tank), and painted our new 3-blade prop.  The prop did not include the castle nut that we ordered along with it, so yesterday we looked all over town for a brass castle nut with no luck.  We're having Catalina Direct ship us the nut and hopefully we'll have it by tomorrow afternoon.  All we need to do now is attach the prop, re-install the fuel tank, lightly sand and repaint the life ring (to remove the old name) and wait for the rain to stop!  We should be back in the water just in time for the 4th of July!  

Hasta luego ... until then.  Mid-Life Cruising!

Saturday, June 26, 2010

Sailboat Bottom Painted


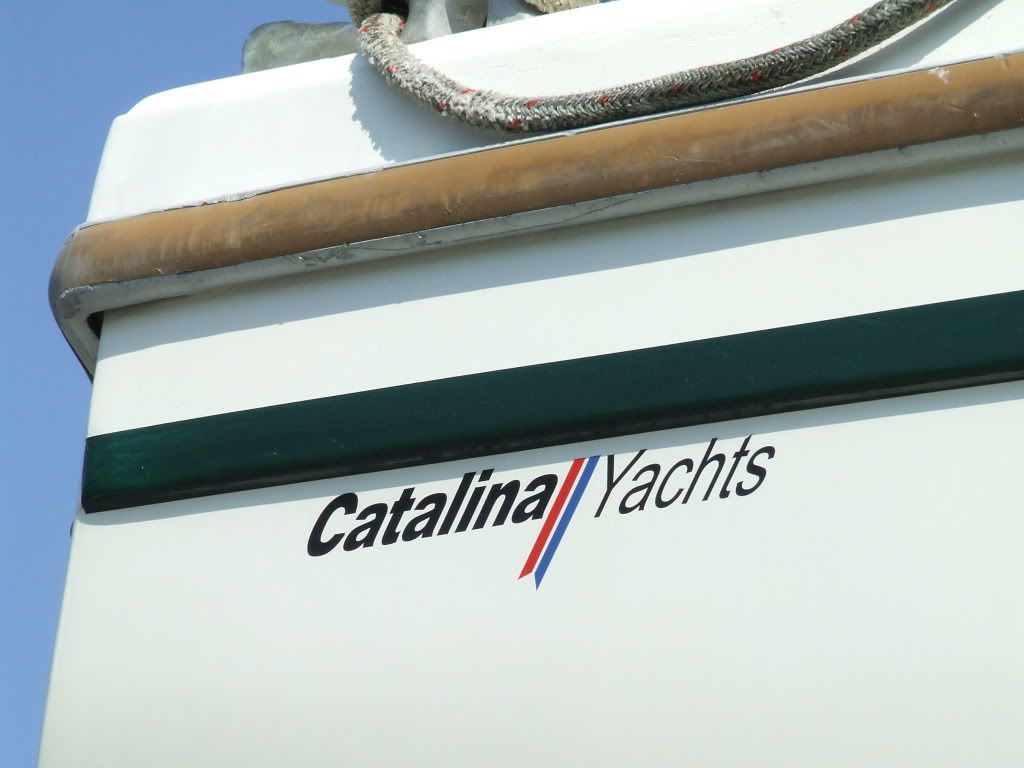
We've been busy this past week doing the final preparations for painting the sailboat's bottom.  Last Saturday we applied our new Catalina decals, as we really love our Catalina and wanted to make her official again.  We planned on performing the denaming/renaming ceremonies that night, but the rain messed up our plans.  The following day was Father's Day, and we spent it with our daughter at the water park in Baton Rouge.  We don't get to spend enough time with our 18 year old, so it was a great day.  No better way to spend a day in the heat than in the water park - much better than the boatyard!  We originally planned on spending the day in the boatyard, so my dad (who is the best) was great about the whole Father's Day thing and said he'd gladly accept a rain check.  I'll make it up to him soon.

New Catalina decals
This past Tuesday and Wednesday we installed the new thru-hulls, installed the new depth and speed transducers, filled and sanded the area where the strut meets the sailboat bottom, removed and replaced the cutlass bearing inside the strut (how-to in later post), added anodes (zincs) to the propeller shaft to prevent corrosion, and completed repairs to the keel by applying marine filler.  We also washed the boat yet again so she'd be clean the next day and ready for painting.

New thru-hulls and filled strut

New anode zincs and filled/repaired keel


Thursday we were ready to finally start painting the sailboat bottom.  This day couldn't come soon enough!  We got to the boatyard early in hopes of applying three coats of primer/barrier paint (Petit Protect, two-part) and the first of two coats of bottom/anti-fouling copper paint (one part, Petit Trinidad 75 - one can of black and one can of light blue, which I'd called electric blue).  We needed to wait three hours between the three barrier coats.  We also needed to apply the first coat of anti-fouling paint within 6 hours of the final barrier coat in order to prevent having to sand the entire bottom.  Luckily the weather held out and we got all four coats of paint on the boat, which meant no sanding!  It took us about an hour each time to apply a coat of paint to the bottom.  Needless to say we were pretty disgusting after spending a long day painting in a heat index of 105 degrees.  I'm still trying to get the paint off of me! 


Friday we only had to put the second coat of anti-fouling paint on the sailboat bottom, and we were done pretty early.  What a great feeling when I was rolling the last section for the last time!  Ken and I spent the remainder of the day ordering a new anchor, along with the chain and line to go with it.  We lost the anchor that came with the boat (don't ask - it fell off) and we felt we needed to have an anchor before we left the boatyard.  We also received our new 3-blade propeller, which we'll need to put on the shaft this weekend.


Friday afternoon we went back to the boatyard to have the guys that worked there move the stands holding up Nirvana so that we could paint the area behind the stands.  This is a common procedure, and it should be nothing to be concerned about.  However, Ken and I almost had a heart attack when it became obvious that the stands weren't being placed properly to support the weight of our sailboat.  We tried to be patient and give the guys the benefit of the doubt.  I had to walk away when the sailboat slipped slightly the first time.  When it slipped again about 2-3 inches (that's a lot, believe me) the second time, it was time to get the lift!  I witnessed this second "slip" and my heart was in my throat!  There's nothing worse than seeing your beloved sailboat that you've worked on so hard for over 2 months start sliding in the stands.  One of the stands starting turning and luckily stopped just in time to "catch" our sailboat from sliding any further.  This was way too close to disaster!  Anyway, the boat was lifted and replaced properly on the stands for us to finish the touch-up painting.  Whew!

Later last night we finally got around to performing our denaming and renaming ceremony (later post).  It was a perfect time to do it, as we were ready for a drink!  We got cleaned up and met a few of our friends at the boatyard with some champagne.  We performed the ceremonies with champagne on the bow and a green-leafed branch on the deck for good luck.  It was a great way to end a hard and stressful week.

We plan on placing Nirvana's name this weekend, as well as putting on the prop and painting those places where the stands were.  We also need to re-install the fuel tank and glass over the area inside the sailboat where we needed to tighten the strut bolts.  We're downhill from here, and hope to have Nirvana in the water within the week.

Hasta luego ... until then.  Mid-Life Cruising!

Friday, June 18, 2010

Sailboat Stripes Are On


Well, it took Ken and I a little longer than we thought it would to paint the stripes on our sailboat.  (Seems like everything seems to take longer - you'd think we'd learn).  But, they are done and we're really happy with the way they turned out.  This past Monday morning Ken taped the areas above and below each stripe to make sure we had a nice, crisp line.  I followed behind Ken and hand-sanded the area to be painted.   This was much easier than the kind of sanding Ken had done at the beginning of this boat project!  Ken and I then lightly wiped down the sanded area with paint thinner to get the area clean and free of any dust.  Again, this took longer than expected and it was all we could fit in for the day.

Ken placing the tape

Tuesday morning Ken started brushing on the Mar-Pro alkyd-based enamel paint (in dark green) which was mixed with 10% -20% of Penetrol reducer.  We were hoping that two coats would cover sufficiently, but we wound up needing three.  The paint needed three hours in between each coat to dry, so by the end of the day the third coat was on.  I had pictures of how transparent the first coat was as well as Ken brushing on the paint, but I accidentally deleted them!  I wanted to kick myself!  Anyway, by the end of the day we were exhausted from yet another day with a 105 degree heat index.


We didn't get back to the boatyard again until this morning, when Ken removed all the tape and I took these pictures.  We're really getting excited that our sailboat is starting to look like a new boat instead of the 23 year old boat that Nirvana is.  Ken did a great job with all the fiberglass repairs and painting!  We couldn't get any more done today because of rain, but we'll be back tomorrow. 

Now Nirvana is ready for her new name!  We hope to perform a "renaming" ceremony this weekend.  We'll then put on the new letters for Nirvana, along with the Catalina decals that we received in the mail today from Catalina Direct.  We sold our two-blade racing propeller this week, which allowed us to order the three blade propeller that we've been wanting. The new propeller should provide more control of the sailboat, which is more important to us than speed.  We ordered that today, also from Catalina Direct, and by the time it comes in next Thursday or Friday we should be ready to go back in the water.   We can't wait!

During the next week we'll paint the sailboat bottom, but first we need to install the thru-hulls and the speed and depth transducers.  Ken will also have to re-fill the strut at the bottom, since he had to remove the filler in order to tighten the strut bolts.  From the inside, Ken will replace the fiberglass that he "chipped away" in order to get to those loose strut bolts.  Then, ready for three coats of barrier coat and two coats of anti-fouling copper paint.  

Hasta luego ... until then.  Mid-Life Cruising!

Sunday, June 13, 2010

Sailboat Hull is Painted!

Hull painted and ready for stripes!

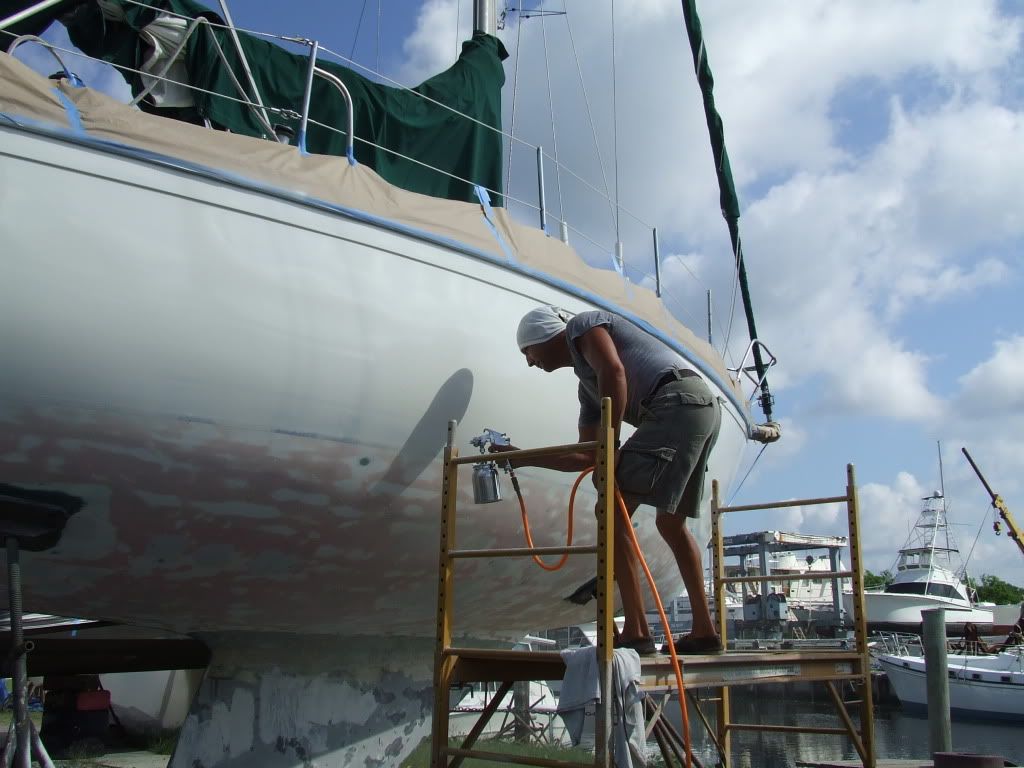
Friday morning before work, Ken finished sanding off the "rolled and tipped" Interlux Perfection paint (he didn't like the brush marks).  Early yesterday Ken, our friend Ted, and myself headed to the boatyard to once again paint our sailboat's hull, spraying the paint this time.  Ken and I were really nervous about how the paint would turn out, especially since the hull had already been painted once and we weren't happy with it.    


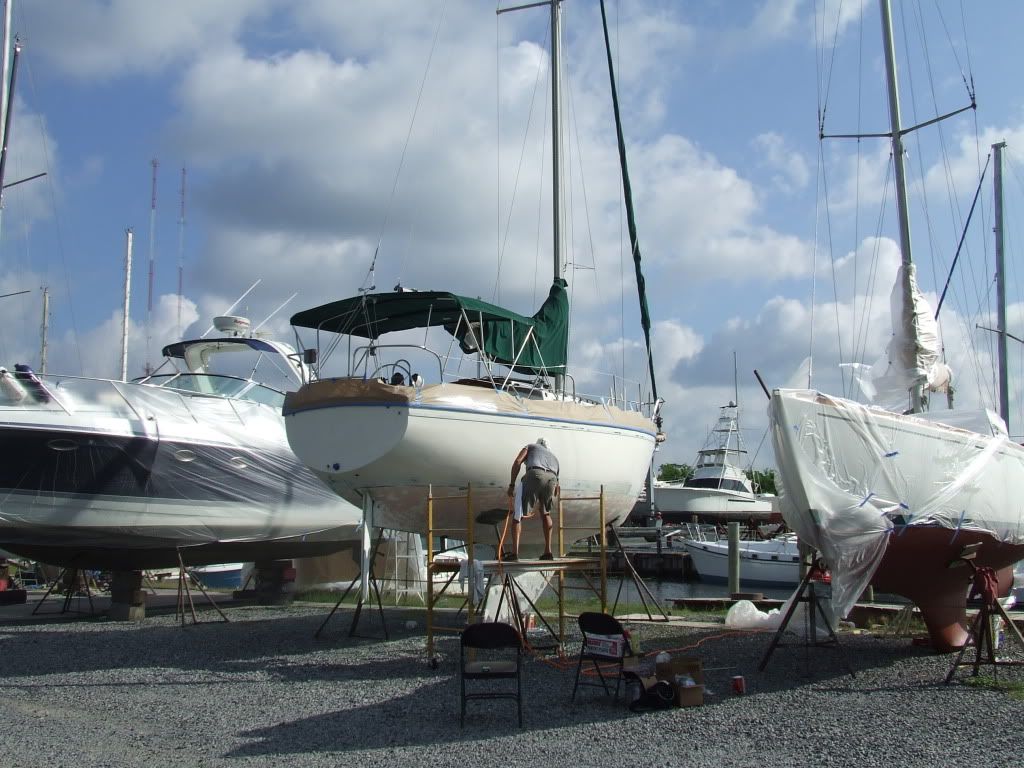
The above picture shows the boats on either side of our sailboat that we need to cover before spraying.  Of course, these boats weren't beside us when Ken decided to spray the boat... Murphy's Law!  An hour and a half later the two boats were covered in plastic and we were ready for spraying.  Our friend Ted  has experience with spraying two-part paint and was kind enough to spray our sailboat hull for us.  He'd already helped Ken with "rolling and tipping" the paint, so we were really grateful.

It took about three hours for Ted to spray the sailboat twice.  When the paint is first sprayed on it's kind of dull, but as the Interlux begins to dry and "lay down", it gets glossier.  Ken and I are much happier with the results of spraying the Interlux Perfection than we were with rolling and tipping it.  We were nervous, but I now agree with Ken that it was worth ordering more Interlux paint and repainting the sailboat's hull.  Of course, I "supervise" more than the guys.  I can't take any of the credit for their hard work.  *See why we chose Interlux over Awl-Grip here.

After about five hours of being in the sun with a heat index of 110 degrees, we were ready to get out of the boatyard.  We found a web site, Catalina Direct, to order the Catalina decals that had to be removed from the sides.  We ordered the decals today and they should be in soon.  Tomorrow Ken and I will get off of work early and plan on painting the green stripes on the hull.

Hasta luego ... until then.  Mid-Life Cruising!

Wednesday, June 2, 2010

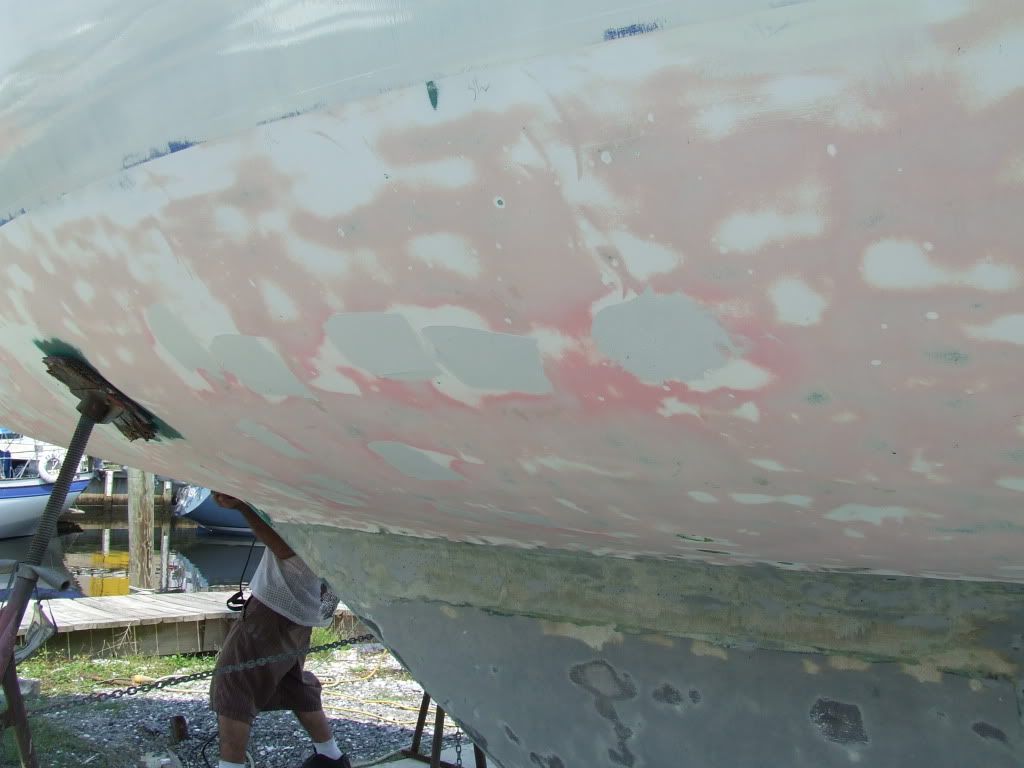
Sailboat Blister Repairs


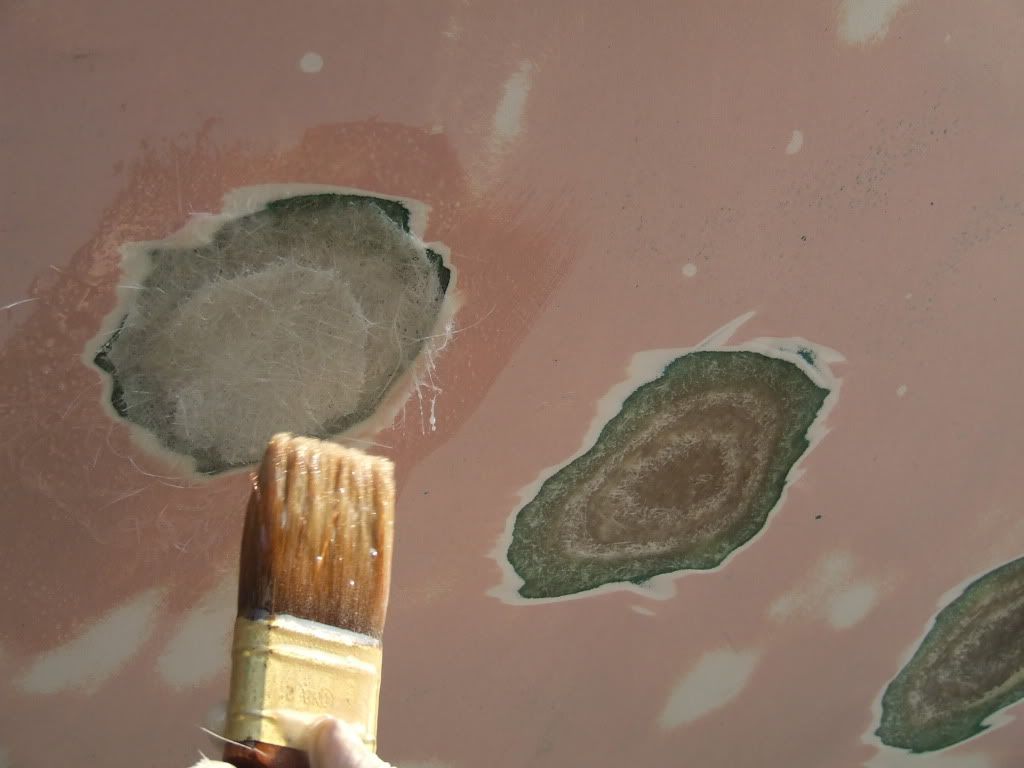
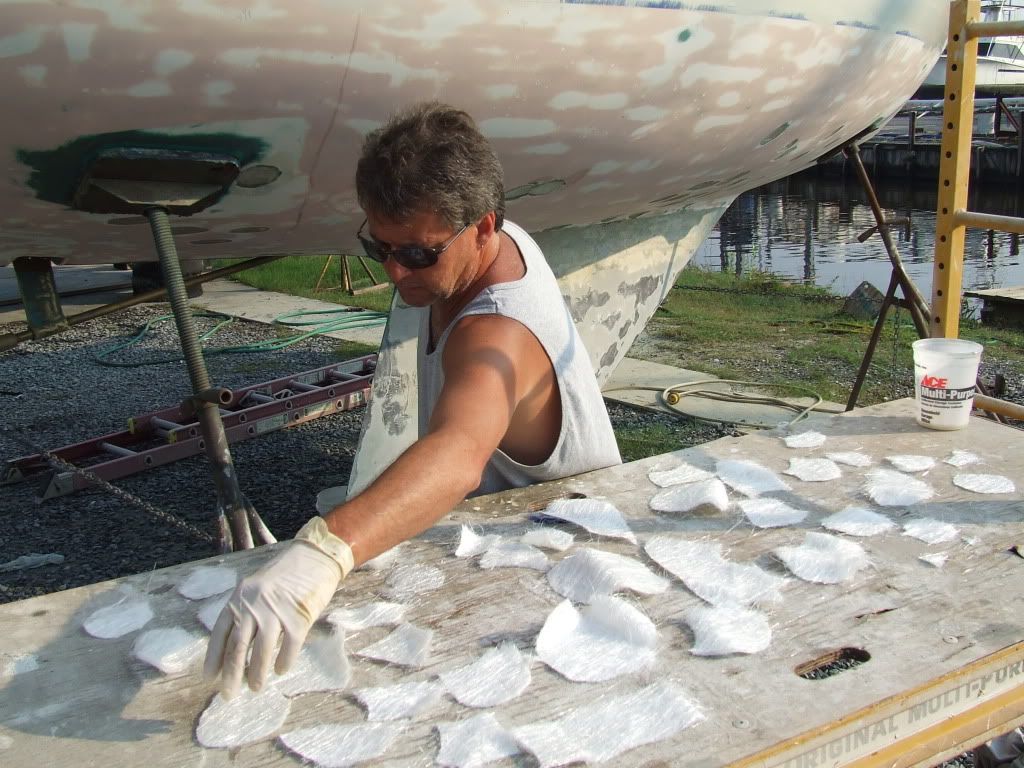
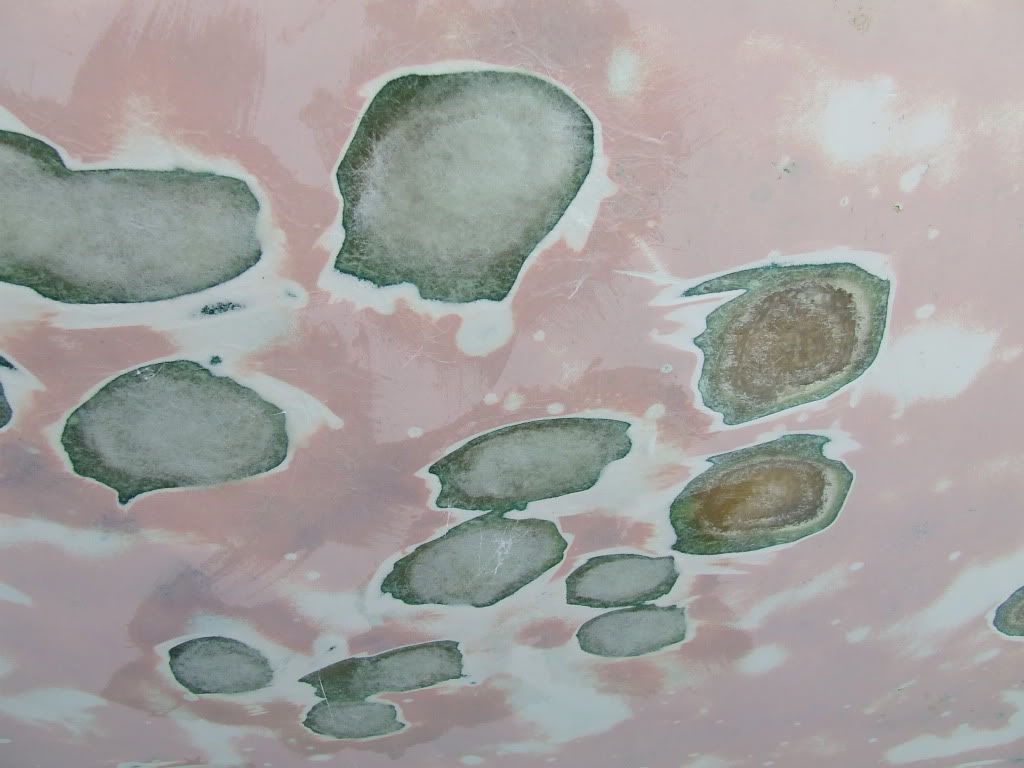
This past Saturday Ken and I headed to the boatyard to work on our sailboat's blisters.  We decided to take a break from painting the sailboat's hull, as Ken is still contemplating whether to roll and tip the second coat of Interlux Perfection paint or spray the second coat of paint.  Repairing the sailboat blisters requires filling each blister with fiberglass cloth and epoxy. 

I must have cut about 400 circles out of fiberglass cloth.

Here are blisters before and after fiberglass.  After the EIGHTY ONE sailboat blisters were filled, we called it a day in order to let the fiberglass and epoxy dry.

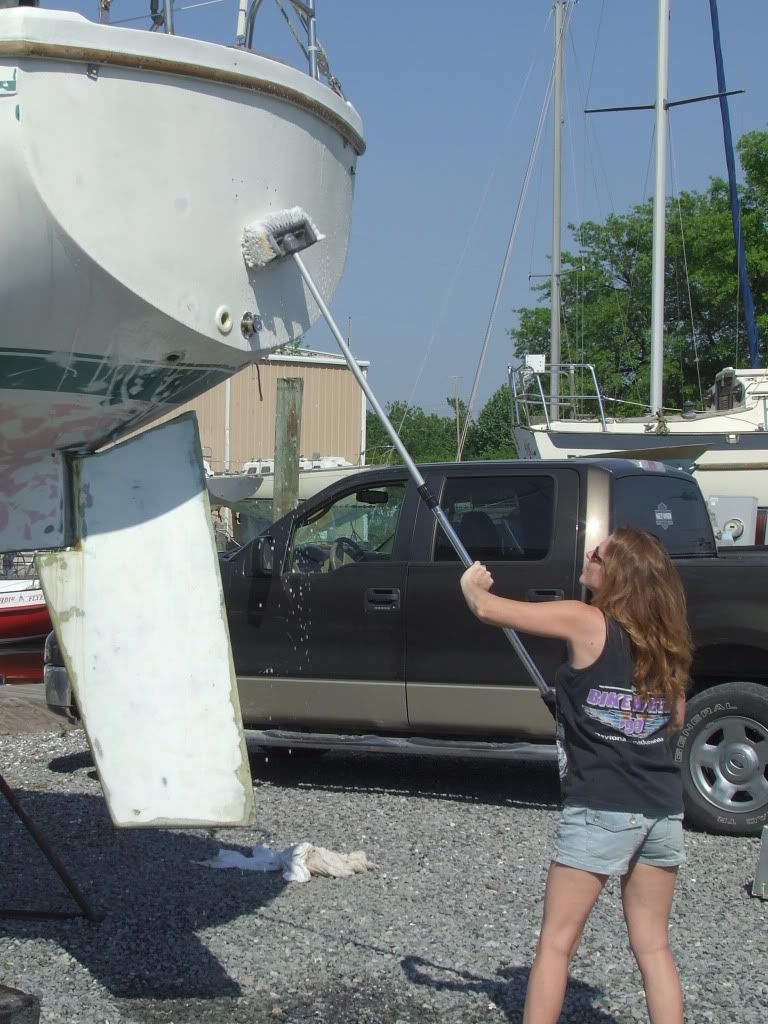
Since Ken and I both worked on Memorial Day, we were able to get off work early yesterday and head back to the boatyard.  After washing the sailboat, Ken filled the blisters with Formula 27 filler then sanded, rinsed, and repeated.  Our sailboat bottom is now ready for primer and paint.  However, we will first need to tighten and fill the strut and replace the old thru-hulls and depth/speed transducers that we removed with new ones.  


Hasta luego ... until then.  Mid-Life Cruising!
Related Posts Plugin for WordPress, Blogger...