
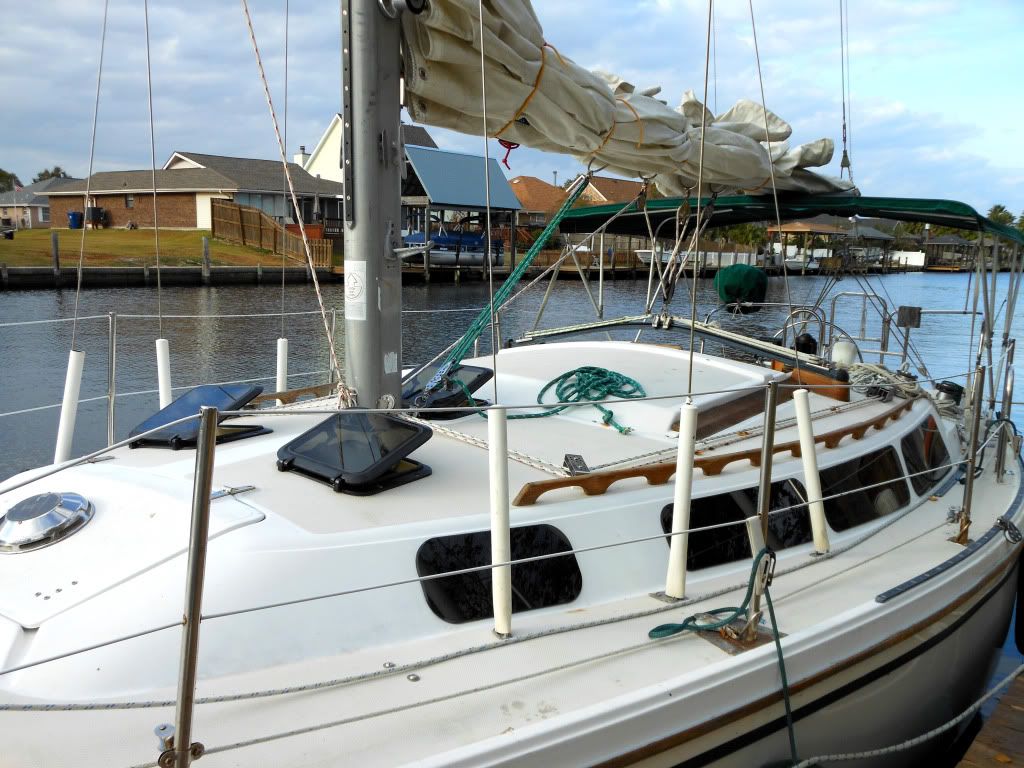
You ever start a little project in your house that snowballs into something much larger? You know, you update something and then everything around it begins to look even worse. Well, after replacing our old and ugly ports on Nirvana, our old and ugly hatches really stuck out! Since we couldn't afford to just go out and buy new hatches, Ken decided to give them a facelift. I apologize in advance for the crazy layout of the pictures ... I tried to get them right but gave up.
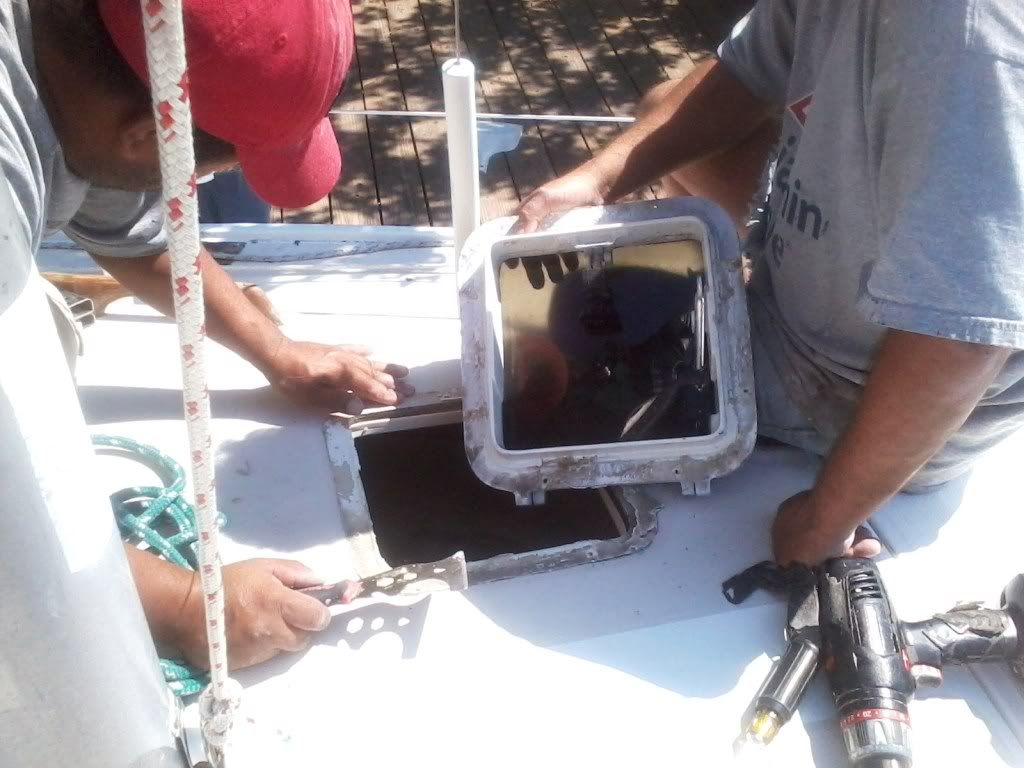
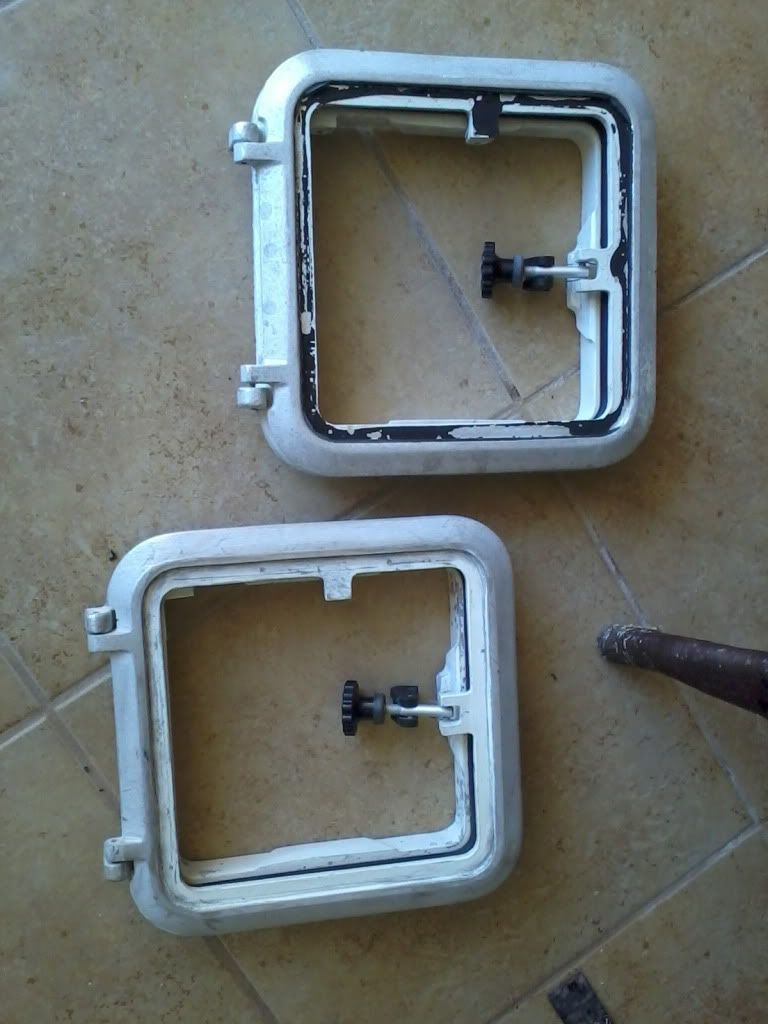
After removing the old hatches, the first project was getting all the years of gunk and paint off the hatches to get them ready for sanding and painting. The picture on the right shows one hatch before it was cleaned and one hatch after it was cleaned and sanded. We had a huge pile of debris to sweep up!
Ken then taped the black rubber gasket with green tape, wrapped the opening parts in a plastic bag, then proceeded to "prime" the hatches with green spray primer. He then spray painted the lower portion of the hatch an almond color (Rustoleum) to match the inside ceiling of Nirvana.


Next was taping the bottom of the almond-colored area to prevent the black paint from getting on it. After that, Ken cut and taped a piece of cardboard where the new Lexan would go, then sprayed the hatches with black Rustoleum paint with a satin finish.


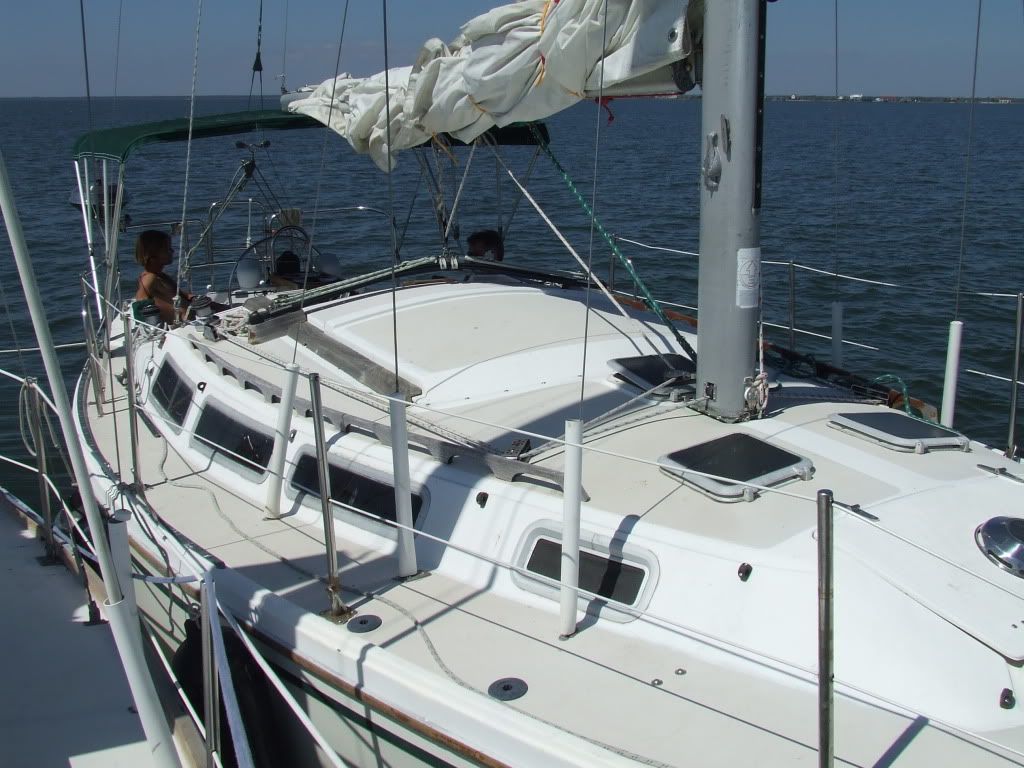
We're really happy with Nirvana's latest facelift! Of course, now the deck is really bugging Ken cause it needs a new paint job ... maybe this Spring!
Hasta luego ... until then. Mid-Life Cruising!


6 comments:
What a great job he did. Those look awesome.
Have a terrific day. :)
This boat is looking amazing! Way to go on all that work!
Very nice.
I got to do one after dropping an anchor on it; I'm more careful now. I've read many posts relating how difficult and dangerous an undertaking it is to rebuild a hatch, but that depends on the skill set, and you've got one. I found it detail-oriented and relaxing.
Nice work.... The boat has gone through such a transformation. The teak, ports, and now the hatches make Nirvana's deck so fresh looking. Together with the topsides, the old owner would never recognise the vessel.
Unfortunately the hatches on my boat are in too poor sondition to repair (bits missing), so I need to replace. A job coming up in the next few weeks.
Thanks guys! Drew, I tried to post all the details in hopes this will help someone else .. glad you found it to be an easy read!
Anonymous, I would love for the prior owners to see how we've taken care of their old sailboat. She doesn't look "old" any more!
Hey Cheryl, I just got to read that post. Nice jobs on the hatch! What primer did Ken used? Were the hatches aluminum? Thanks for the details, great work.
Post a Comment